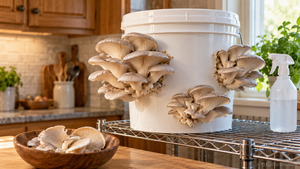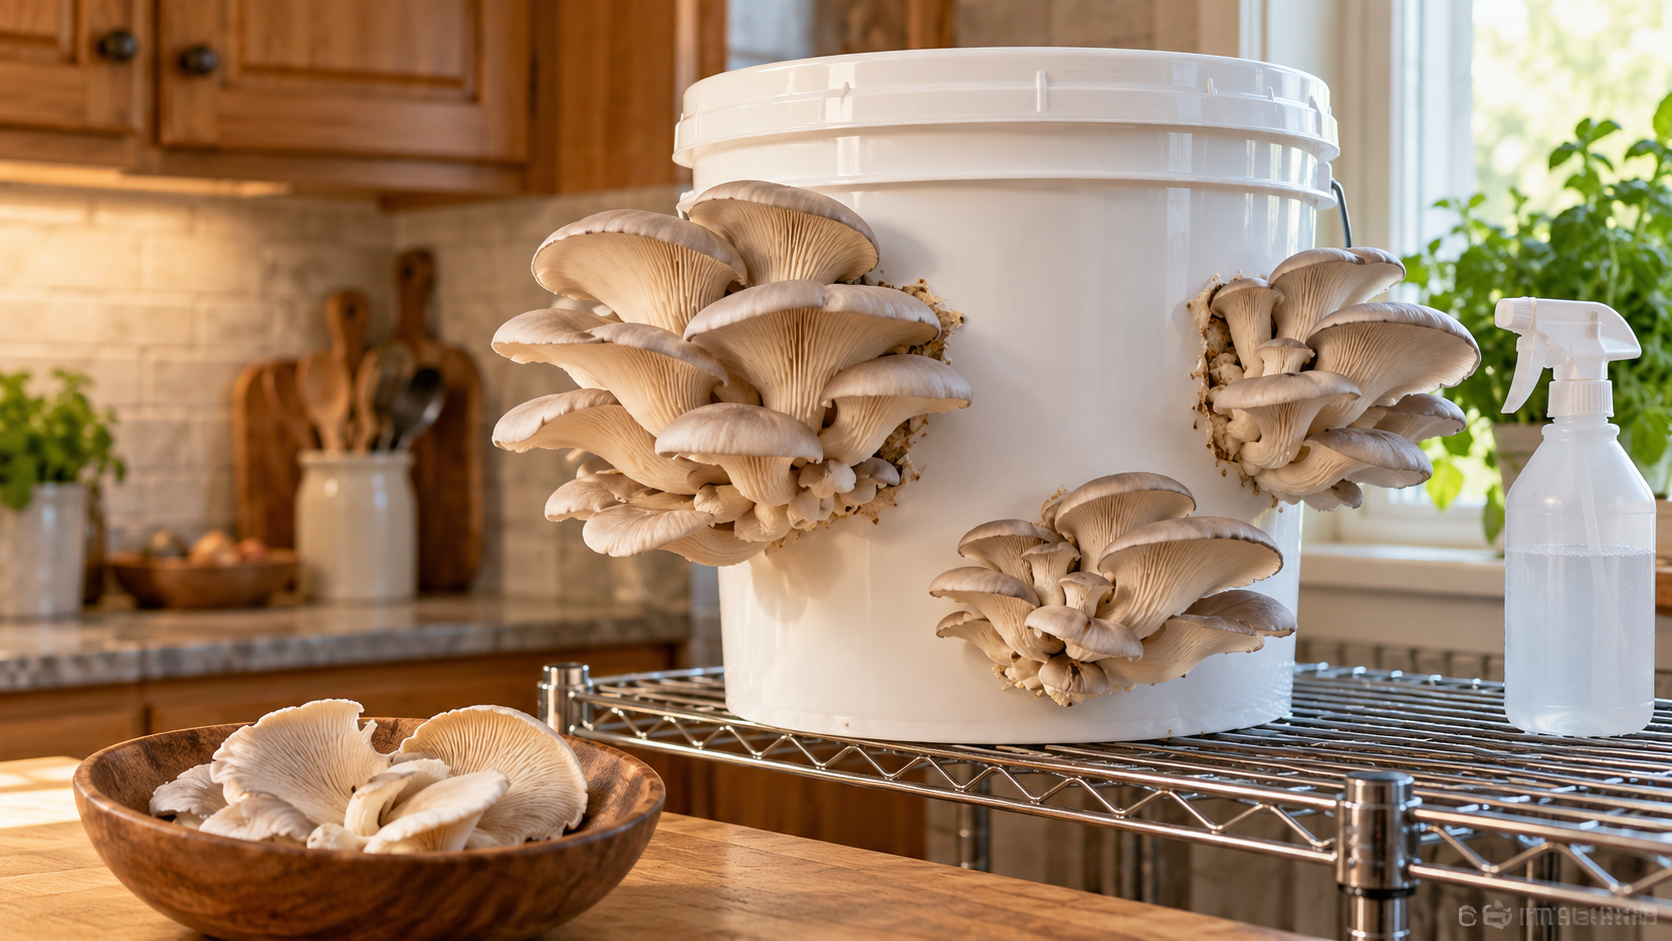
There is a wire shelf above my rice cooker that used to hold cookbooks I never opened. Today it holds a white plastic bucket with holes drilled in the sides, and out of those holes spill ruffled gray clusters that look like something from a tide pool. I never thought I would grow food inside my own house, with no soil anywhere in sight. Yet here I am, twisting hydroponic mushrooms off a bucket before breakfast. My first bucket went moldy. The second gave me dinner, and the method below made the difference.
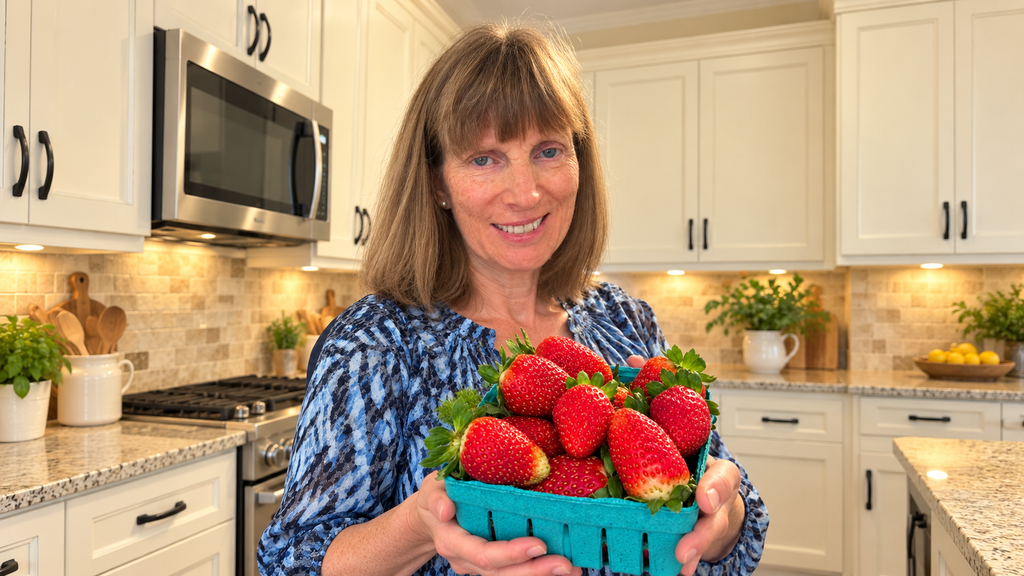
My experience with growing food started the ordinary way, in soil. I planted strawberries in my garden and have already enjoyed the first harvest. So when a friend told me she grew dinner in her closet without a single scoop of soil, I smiled politely and assumed she was exaggerating. Then she handed me a paper bag of oyster mushrooms, still cool, smelling faintly of anise, and I went home and read about them until two in the morning.
What Hydroponic Mushrooms Really Are, and What They Are Not
The name confused me for weeks, so here is the short answer. Can you grow mushrooms hydroponically? Not in the strict sense. Mushrooms are fungi, not plants. They have no leaves and no true roots, they do not photosynthesize, and they cannot drink a nutrient solution the way lettuce does. Drop spawn into a tank of fertilizer water and all you get is a smelly tank.
So what do people mean by the term? In practice, hydroponic mushrooms are mushrooms grown without garden soil, in a setup where water is managed on purpose. The fungus lives on a clean substrate, usually pasteurized straw, and feeds by digesting it. Water reaches it as moisture held in the straw and as humid air.
That is the whole secret. No pumps, no purple lights, no chemistry degree. Some growers simply call it soilless cultivation, and they have a point. I use the popular name because the spirit is the same: clean inputs, managed water, no dirt.
The Bucket That Turned Green on Me
My first attempt deserves a moment of silence. I ordered oyster spawn, bought a bag of chopped straw from a pet store, and decided that pasteurizing sounded optional. I rinsed the straw in the sink, stuffed it into a bucket I had wiped with a dish towel, mixed in the spawn with bare hands, and parked it beside the radiator.
For a week it looked promising. White threads crept through the straw and I told everyone I knew. On day nine, a patch the color of old jade appeared near the bottom. By day twelve it covered half the bucket and smelled like a wet basement.
That was green mold, the classic beginner heartbreak. It rides in on unpasteurized straw and unwashed hands, and in a warm, wet bucket it can outrun oyster mycelium.
I nearly gave up that night. What kept me going was irritation, mostly. The failure was so clearly my own fault that it felt fixable. Batch two got hot water, a thermometer, rubbing alcohol, and patience. Batch two also gave me mushrooms.
My Recipe for Growing Hydroponic Mushrooms in a Bucket
This is the method that finally worked for me, written the way I wish someone had handed it to me before the green bucket. It uses oyster mushrooms because they are forgiving, fast, and happy on plain straw. The pasteurizing heat and spawn amount line up with the University of Florida’s home oyster mushroom guide.
What to gather first
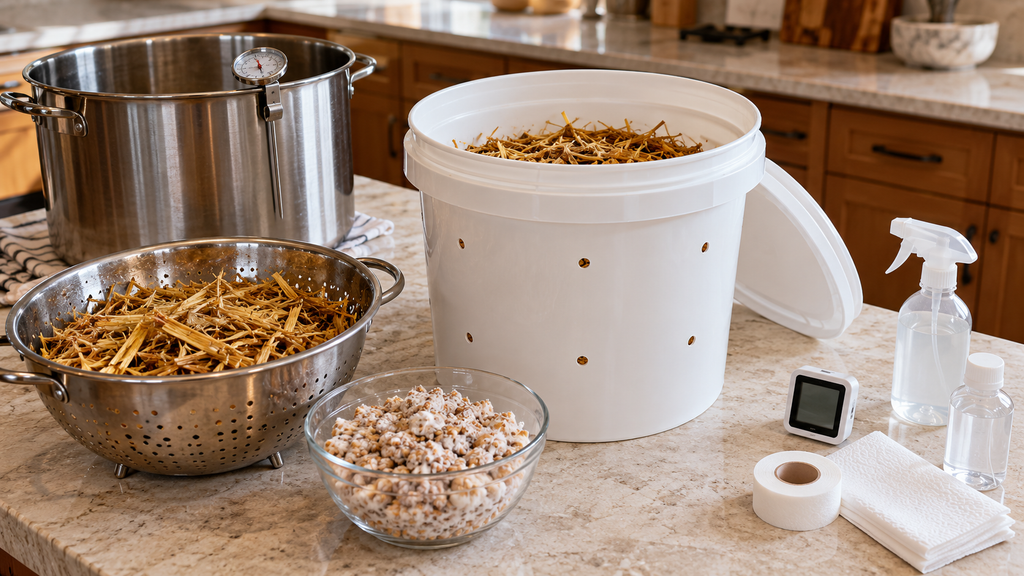
- A 10 to 20 liter food grade bucket with a lid, with holes about 1 centimeter wide drilled every 10 to 15 centimeters around the sides.
- Chopped wheat straw, enough to fill the bucket when packed down.
- Oyster mushroom grain spawn from a reputable supplier, about 10 percent of the weight of your wet straw.
- A large pot and a kitchen thermometer for pasteurizing.
- A spray bottle, plus a thermometer and hygrometer for the shelf.
- Rubbing alcohol at 70 percent, paper towels, and breathable paper tape.
The steps, in order
- Sanitize everything. Wash your hands, then wipe the bucket, lid, and counter with rubbing alcohol and let them air dry.
- Pasteurize the straw. Hold it under water at 65 to 75 degrees Celsius (about 150 to 165 Fahrenheit) for 60 to 90 minutes, with a plate on top to keep it submerged. Hot, not boiling.
- Drain and cool. Tip the straw into a clean colander and leave it until it reaches room temperature. Hot straw kills spawn.
- Check the moisture. Squeeze a handful hard. A few drops should fall. A stream means too wet.
- Mix in the spawn. Layer straw and crumbled spawn into the bucket, pressing each layer down firmly. Close the lid and cover the holes with paper tape.
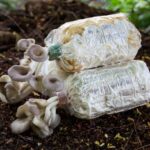
- Incubate. Leave the bucket somewhere dark and warm for 14 to 21 days, until white mycelium covers the straw you can see through the holes.
- Start fruiting. Move the bucket to the shelf, peel off the tape, and mist around the holes two to three times a day.
The conditions I aim for
- Incubation: 22 to 26 degrees Celsius (72 to 79 Fahrenheit), dark, lid on.
- Fruiting temperature: 15 to 24 degrees Celsius (59 to 75 Fahrenheit), depending on the strain. Check what your supplier recommends.
- Fruiting humidity: 85 to 95 percent around the holes, not the whole room.
- Light: indirect room light. No direct sun, no grow lamp.
- Fresh air: a cracked window or a small fan across the room. Oysters breathe out carbon dioxide and sulk without air exchange.
When and how I pick them
- Pins usually appear 3 to 7 days after fruiting starts and are ready 5 to 7 days later.
- Pick while the cap edges still curl slightly under, before they flatten and turn upward.
- Hold the whole cluster at its base, twist gently, and pull it away in one piece.
- Keep misting. A second flush often follows in 1 to 2 weeks.
- Store the harvest in a paper bag in the refrigerator and eat it within a few days.
When things go sideways
- Green or black mold: contamination, and there is no saving it. Bag the bucket before you carry it out, discard the contents outside, then scrub and sanitize. Next time pasteurize for longer and keep hands and tools cleaner.
- Stalled colonization: usually too cold, too wet, or too little spawn. Try a warmer spot first.
- Tiny pins that dry out and turn brown: the air is too dry. Mist more often or run a humidifier beside the bucket.
- Long, leggy stems with small caps: too much carbon dioxide. Give them more fresh air.
- A sour or rotten smell: the straw most likely went in too wet. Start again and drain it better.
Safety rules I do not bend
- Buy spawn from a trusted supplier, so you know exactly which species you are growing.
- Never use straw that already shows mold.
- Discard any batch with signs of contamination. No tasting, no trimming around it.
- Always cook oyster mushrooms before eating them.
- Keep the room aired. Oysters release a lot of spores, which can irritate the lungs, so take care if you have asthma or allergies.
What a Bucket of Mushrooms Has Given Me
I expected a novelty. A fun story for dinner guests, maybe one omelet. What I got was a small, steady supply of food and a few benefits I had not thought to look for.
No dirt, fewer pests, one narrow shelf
The first thing I noticed was what was missing. There is no soil to track around, and far fewer gnats than any herb pot I ever owned. Pests can still find a mushroom bucket, so I keep the shelf clean and clear out spent straw quickly.
Then there is the space. My whole operation fits on a shelf sixty centimeters wide: one bucket fruiting up top, one quietly colonizing in the cupboard under the sink.
Fresh in January, and faster than my patience
Outdoor gardens in my city shut down for months. The shelf does not care. I have picked fresh clusters during a snowstorm.
The speed still surprises me. Once the straw is colonized, which takes two to three weeks of me doing nothing, I move the bucket into the light and start misting. Pins, the baby mushrooms, show up within days. From that move to a full harvest is usually one to two weeks, and near the end the clusters seem to double overnight.
Nobody warned me that hydroponic mushrooms would be this quick, or that a healthy bucket keeps going. Mine usually gives a second and third flush before the straw is spent.
What a bowl of oysters brings to the plate
I started for the fun of it and stayed partly for the nutrition. According to USDA Food Data Central, 100 grams of raw oyster mushrooms, a generous handful, comes to about 33 calories. For that you get B vitamins, especially niacin, plus potassium, a couple of grams of fiber, and around three grams of protein.
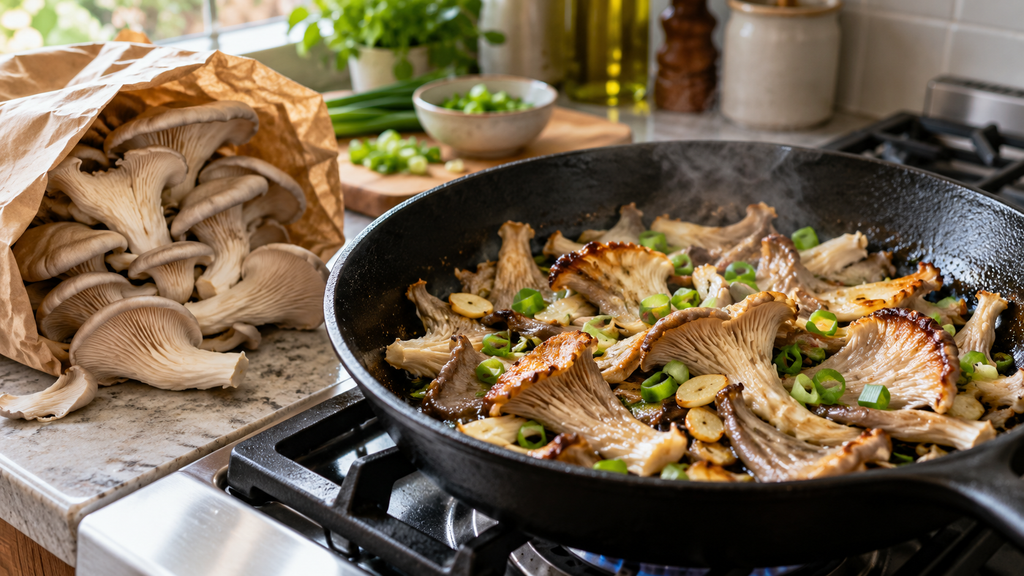
I will not tell you mushrooms cure or treat anything. They are simply a filling, savory food, and keeping hydroponic mushrooms within arm’s reach means I eat them far more often than when they came in a plastic tray. Most nights I tear them into strips and sear them with garlic until the edges go crisp.
How One Bucket Rewired My Grocery List
I used to buy mushrooms the way most people do: a plastic wrapped tray, slimy by Thursday, half of it thrown away. Now I plan meals around what the bucket is doing. A flush on Saturday means stir fry on Saturday and soup on Sunday.
Once you have watched food appear out of straw and tap water, you start asking where everything else comes from. I read labels more. I waste less.
And I talk about it constantly. Friends who visit get a tour of the shelf and a paper bag to take home. Two of them now have buckets of their own.
Questions I Get Asked
Can you grow mushrooms in water alone?
No. Mushrooms need something to digest, such as straw or sawdust. Water keeps the substrate moist and the air humid, but it is not their food. That is why hydroponic mushrooms are really a soilless crop, not a true water culture one.
How long from spawn to harvest?
About three to five weeks for a first harvest: two to three weeks for the straw to colonize, then one to two weeks of fruiting. Cooler rooms are slower.
How many harvests per bucket?
Usually two or three flushes. The first is the largest, and each one after it is smaller. Once the bucket stops producing, the spent straw can go in the compost.
Is a kit easier than a bucket?
Yes. A ready colonized kit skips pasteurizing and incubating, so it is a good first try. A bucket usually costs less per harvest and teaches you the whole process.
Your Shelf Is Next
If you have read this far, some part of you is already measuring a shelf. Good. Start small: one bucket, one bag of spawn, one big pot of hot water. You will probably make a mistake. I made mine loudly, and in green. It cost me a bag of straw and a bruised ego, and the very next bucket kept me in mushrooms for weeks.
So clear a spot above the rice cooker, or wherever your unread cookbooks live. Order the spawn tonight, while the idea is still warm. In about a month you could be standing in your kitchen in your socks, twisting off your first cluster of hydroponic mushrooms and wondering why you waited. When you do, come back and tell me how it went.