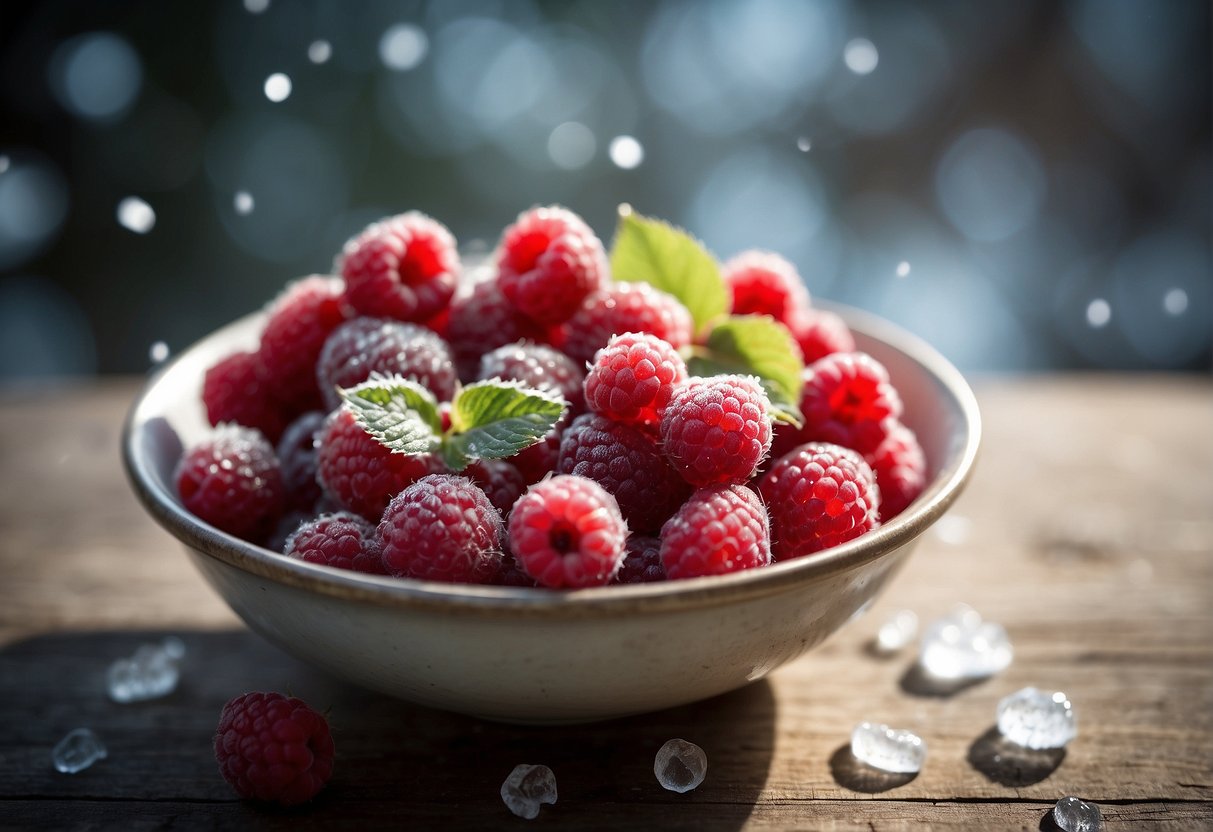
If you’re anything like me, chances are you have a couple of bags of raspberries tucked away in your freezer, patiently waiting for the moment to sparkle. Being a food enthusiast and blogger focused on nutrition, I’m continuously searching for ways to maximize these treasures whether I’m preparing a fresh batch of homemade jam or experimenting with innovative baking ideas.
That’s why I was thrilled to discover these videos that I’ve included in this article that delve into the enchanting realm of fruit wonders. From mastering the craft of raspberry jam with reduced sugar content to unraveling the mysteries behind flavorful baked treats, these tutorials are a game changer for anyone seeking to elevate their frozen raspberry game.
As someone who’s always eager to learn and exchange insights and techniques with my community, I was excited to dissect the key lessons from these videos and share them with you.
Whether you’re a kitchen wizard or just starting your journey using frozen fruit in cooking and baking there’s something here, for everyone.
Grab a pen and paper. Save this page for later because we’re about to explore the world of frozen raspberries. From the jam to the fluffy muffins and cakes, there’s a lot of deliciousness waiting for us. Let’s get started!
Making Raspberry Jam with Frozen Berries
Let’s begin with making raspberry jam using berries. As someone who enjoys a spread on toast in the morning, I was excited to learn that you can make jam with frozen raspberries and some knowledge.
Ingredients
You’ll need three ingredients: raspberries, sugar and a splash of lemon juice. What makes it interesting is that instead of using a lot of sugar, as most recipes suggest, this tutorial recommends using less for a vibrant flavor that highlights the raspberries. As someone who tries to cut down on sugar without compromising taste, I found this tip quite appealing!
Instructions
The process itself is mix your frozen raspberries and lemon juice in a pan and bring it to a boil.
Once the mixture is nice and bubbly, add the sugar and stir until it completely dissolves. If you’re feeling fancy, you can remove any foam that forms on top. It’s mentioned in the video that this step is optional (phew!).
Now comes the exciting part – witnessing your jam undergo a transformation before your eyes! Let it boil for 15-20 minutes, stirring occasionally to prevent sticking or burning. If you have a candy thermometer on hand, you can check the jam’s temperature – it should reach 105.5°C (or 220°F) for that consistency.
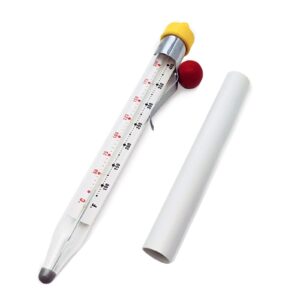
We recently got to try out a must-have kitchen tool that’s a game changer for folks who enjoy making treats or fried goodies. The ZKOOER Candy Thermometer has proven to be a gadget that has simplified our confectionery and frying tasks in the kitchen.
Its construction with temperature-resistant, tempered glass is built to handle the intense heat of boiling sugar or hot oil effortlessly. The adjustable pot clip is a feature allowing it to securely attach to the edge of your pot hands which we found really convenient. We liked that it offers temperature readings, in both Celsius and Fahrenheit making it versatile. Cleaning it is also a breeze— a wipe down will do the trick.
Canning the Jam
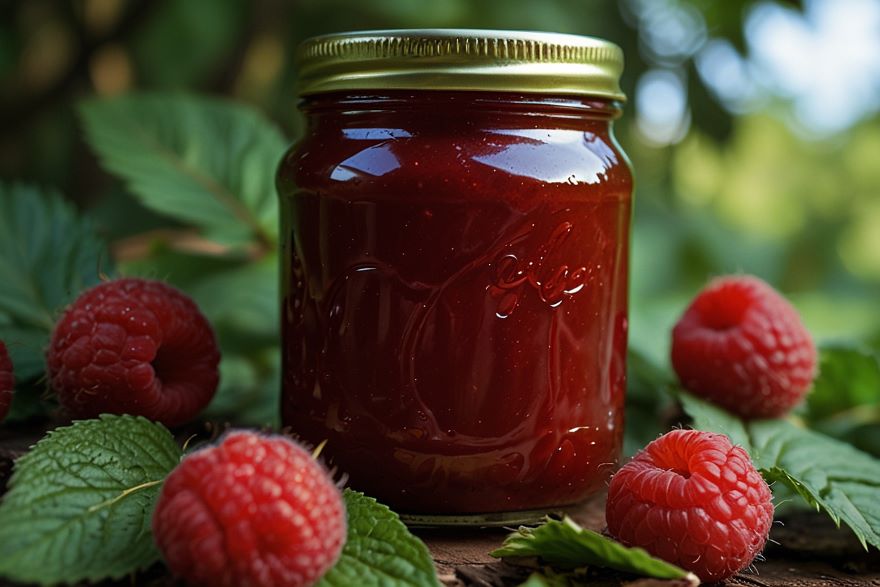
After your jam reaches its peak perfection, it’s time to preserve it for long-term enjoyment. This step might seem daunting for beginners but don’t worry, the video explains it in easy-to-follow steps. Simply fill your sterilized jars with the jam leaving some space at the top for expansion. Then seal the jars by boiling them in water for 2-3 minutes.
I love when I’ve created a batch of delicious homemade raspberry jam packed with flavor and completely free from any mysterious additives or preservatives. I appreciate using ingredients in my cooking especially when it comes to making jam. It’s satisfying to have control over what goes into my preserves and ultimately into my body.
What’s even better is that this jam isn’t just tasty, it’s also a way to utilize those forgotten bags of raspberries hiding in your freezer. Don’t hesitate to stock up on discounted berries; your future self (and your morning toast) will be grateful.
Tips for Baking with Frozen Fruit
Now that we’ve nailed the art of making raspberry jam, let’s dive into another use for those frozen berries. Incorporating them into baked treats! I adore indulging in fruity muffins or a serving of bubbling berry, so I was thrilled to uncover these insightful tips for baking with frozen fruit.
Thawing
Let’s address the burning question… Should you thaw the berries before using them? Thawing fruit isn’t typically required before baking unless specified by the recipe or if you’re dealing with a short baking time. As someone who appreciates efficiency in the kitchen, I find it convenient to add those berries directly into the batter.
Rinsing
Hold on – what about the moisture that frozen fruit brings? Will it ruin our treats by making them soggy and disappointing? Not if we rinse our fruit with cold water before mixing it into the batter. This simple step helps get rid of any ice crystals and stops moisture from ruining our precious creations.
Adjusting Bake Time
Now here’s where things get a bit tricky – adjusting our baking times to accommodate the temperature of the fruit. For quick bake recipes like muffins, we suggest adding 3-5 minutes to the baking time. For longer bake recipes such as pies and crisps, we should add 10-15 minutes to ensure everything is fully cooked and bubbling right.
Coating Small Berries
What about those little berries that always sink to the bottom of our muffins and cakes? Don’t worry – we have a solution for that too! Simply coat your berries with a bit of flour or cornstarch before mixing them into the batter. This easy trick helps keep the berries from sinking and bleeding their color, giving us great baked treats every time.
I’m always on the lookout for ways to add nutrients and antioxidants to my meals and I really like the idea of using frozen berries in my baking. Frozen berries are cheaper, easier, and retain their nutrients and flavor compared to fresh. It’s a win-win situation!
Next time you crave something sweet with frozen raspberries, try these suggestions. Whether baking muffins or crisps, these frozen fruit tips will elevate your baking skills.
The realm of fruit offers possibilities just waiting to be explored by adventurous home cooks and bakers, like us. Frozen raspberries (and other frozen fruits) aren’t just convenient and budget friendly, they can also unlock a new world of flavors and creativity in our kitchens.
From sweet-tart raspberry jam to moist, flavorful baked goods, frozen fruit elevates simple recipes extraordinarily. Using our tips, we can master frozen fruit, creating delectable, healthy treats that amaze loved ones.
However, perhaps the valuable takeaway from this fruit exploration is embracing new ideas and methods in the kitchen. As a home cook and nutrition enthusiast, I’m amazed by the wealth of knowledge waiting to be discovered.
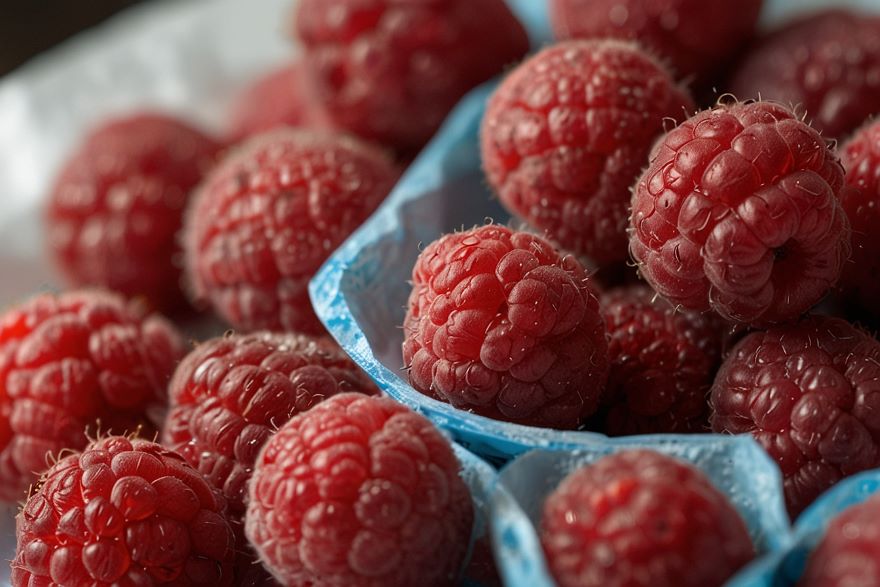
When craving something fulfilling with frozen raspberries, don’t hesitate to explore beyond your usual boundaries. Whether experimenting with jam, refining baked goods, or crafting something new, the opportunities are endless.
Who knows, you might discover your signature dish or inspire others to start their own frozen fruit journey. When the day comes to a close, the true essence of cooking and baking shines through. It’s about connecting with others by sharing our love for food, our successes and our passions.
Feel free to grab those frozen raspberries, folks. Your taste buds (and your creative side) will be delighted. Enjoy making jams and baking!

*We may earn a commission for purchases made using our links. Please see our disclosure to learn more.

