We know that cannellini beans are not a staple across all cultures. While they hold a special place in Italian and some Mediterranean diets—and have become increasingly popular in modern Western plant-based cooking—they aren’t traditionally used in every cuisine. In many regions, they’re often substituted or overshadowed by legumes that are more familiar or widely available. Still, when it comes to creating a creamy, comforting, and protein-rich dish like Cannellini Bean Chili, these beans truly shine.
That’s why cannellini bean chili has become one of my favorite ways to showcase these versatile white beans. It’s a cozy, nutrient-packed dish that transforms a simple pot of chili into something smooth, satisfying, and full of depth. If you’re curious about alternatives, I’ve written another article that explores excellent substitutes for cannellini beans—but in this recipe, there’s no swapping. We’re letting cannellini beans take center stage.
The Science Behind Bean-Based Longevity
According to Dr. Michael Greger, a leading voice in plant-based nutrition, one of the strongest dietary predictors of longevity is legume intake. He cites global studies showing that regularly eating beans, lentils, and peas is linked to longer life expectancy. Even small daily servings—just a couple of tablespoons—can make a measurable difference. That makes dishes like cannellini bean chili not just comforting, but potentially life-extending.
What drew me to this particular white bean chili recipe was how perfectly cannellini beans complement the traditional bold spices we associate with chili. Unlike their red kidney bean cousins, cannellini beans bring a subtle nuttiness and incredibly creamy texture that creates a more sophisticated flavor profile. They absorb spices beautifully while maintaining their shape, creating a hearty base that satisfies without overwhelming your palate.
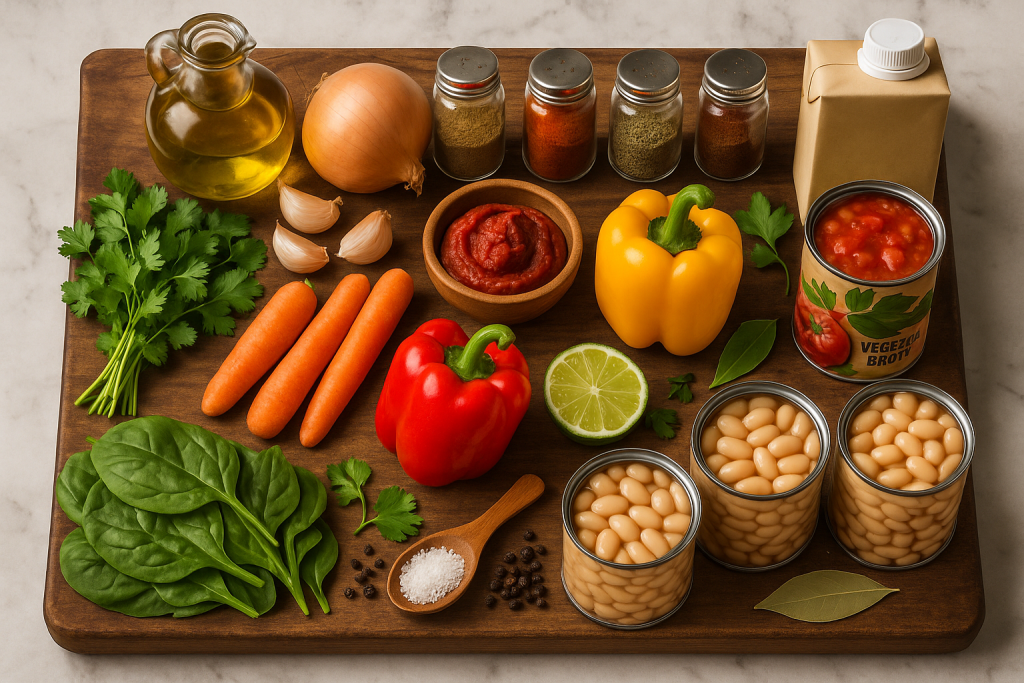
A Rainbow of Wholesome Ingredients

I’ll be honest—when I first look at this ingredient list, I even get a little overwhelmed by how many components go into creating the perfect cannellini beans chilli. But here’s what I’ve learned over the years: each ingredient serves a specific purpose in building layers of flavor and nutrition that you simply cannot achieve with shortcuts. The beauty lies in how these simple, whole food ingredients transform into something far greater than the sum of their parts.
Hearty Cannellini Bean Chili with a Smoky Twist
Ingredients
- 3 tablespoons extra virgin olive oil
- 1 large yellow onion, diced
- 4 cloves garlic, minced
- 1 red bell pepper, diced
- 1 yellow bell pepper, diced
- 2 carrots, diced
- 2 celery stalks, diced
- 2 tablespoons tomato paste
- 2 teaspoons ground cumin
- 2 teaspoons smoked paprika
- 1 teaspoon dried oregano
- 1 teaspoon chili powder
- ½ teaspoon chipotle powder (optional, for smokiness)
- 3 cups low-sodium vegetable broth
- 1 can (14.5 oz) fire-roasted diced tomatoes
- 3 cans (15 oz each) cannellini beans, drained and rinsed
- 2 cups fresh spinach, roughly chopped
- ¼ cup fresh cilantro, chopped
- 2 tablespoons fresh lime juice
- 1 teaspoon sea salt (or to taste)
- ½ teaspoon freshly ground black pepper
- 1 bay leaf
Instructions
Sauté the Aromatics
Heat the olive oil in a large Dutch oven over medium heat.
🔥 Want that deep, simmered-all-day flavor—even on a weeknight? The magic happens in a heavy-bottomed Dutch oven. It holds heat beautifully, cooks evenly, and gives your chili the rich, layered taste that makes it feel like comfort food made with love.
👉 Check Out This Le Creuset Enameled Cast Iron Dutch Oven – It’s a splurge, but once you have it, you’ll use it for everything from soups to sourdough. A true kitchen heirloom.
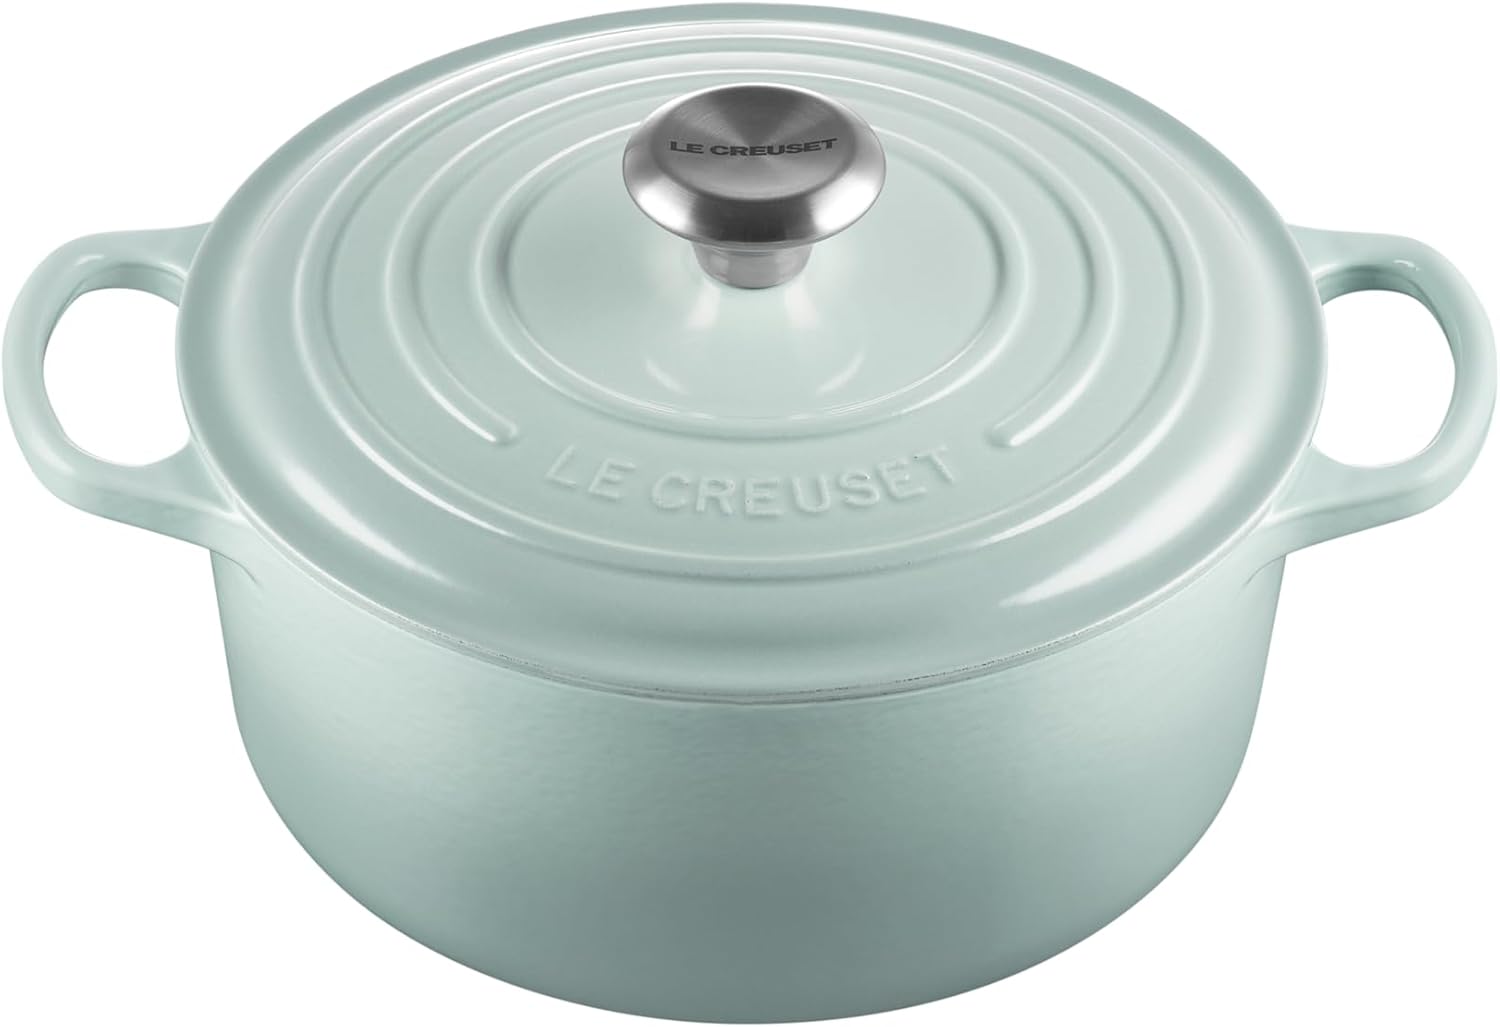
Le Creuset Enameled Cast Iron Signature Round Dutch Oven, 4.5 Quart, Sea Salt
- Enameled cast iron delivers superior heat distribution and retention
- Ready to use, requires no seasoning
- Easy-to-clean and durable enamel resists dulling, staining, chipping and cracking
- Light colored smooth interior enamel allows easy monitoring of cooking progress
💚 Your chili is only as good as the olive oil you start with. For this recipe, I always reach for a premium extra virgin olive oil that brings out the richness of the onions and garlic without overpowering the dish. A cold-pressed, unfiltered variety makes all the difference when it comes to building flavor from the very first step.
👉 Try This Organic Extra Virgin Olive Oil – Partanna Unfiltered Sicilian EVOO – It’s fruity, robust, and absolutely perfect for sautéing aromatics in your favorite plant-based meals. Add the diced onion and cook for about 5 minutes, stirring occasionally, until soft and translucent. This creates the flavorful base for your chili.
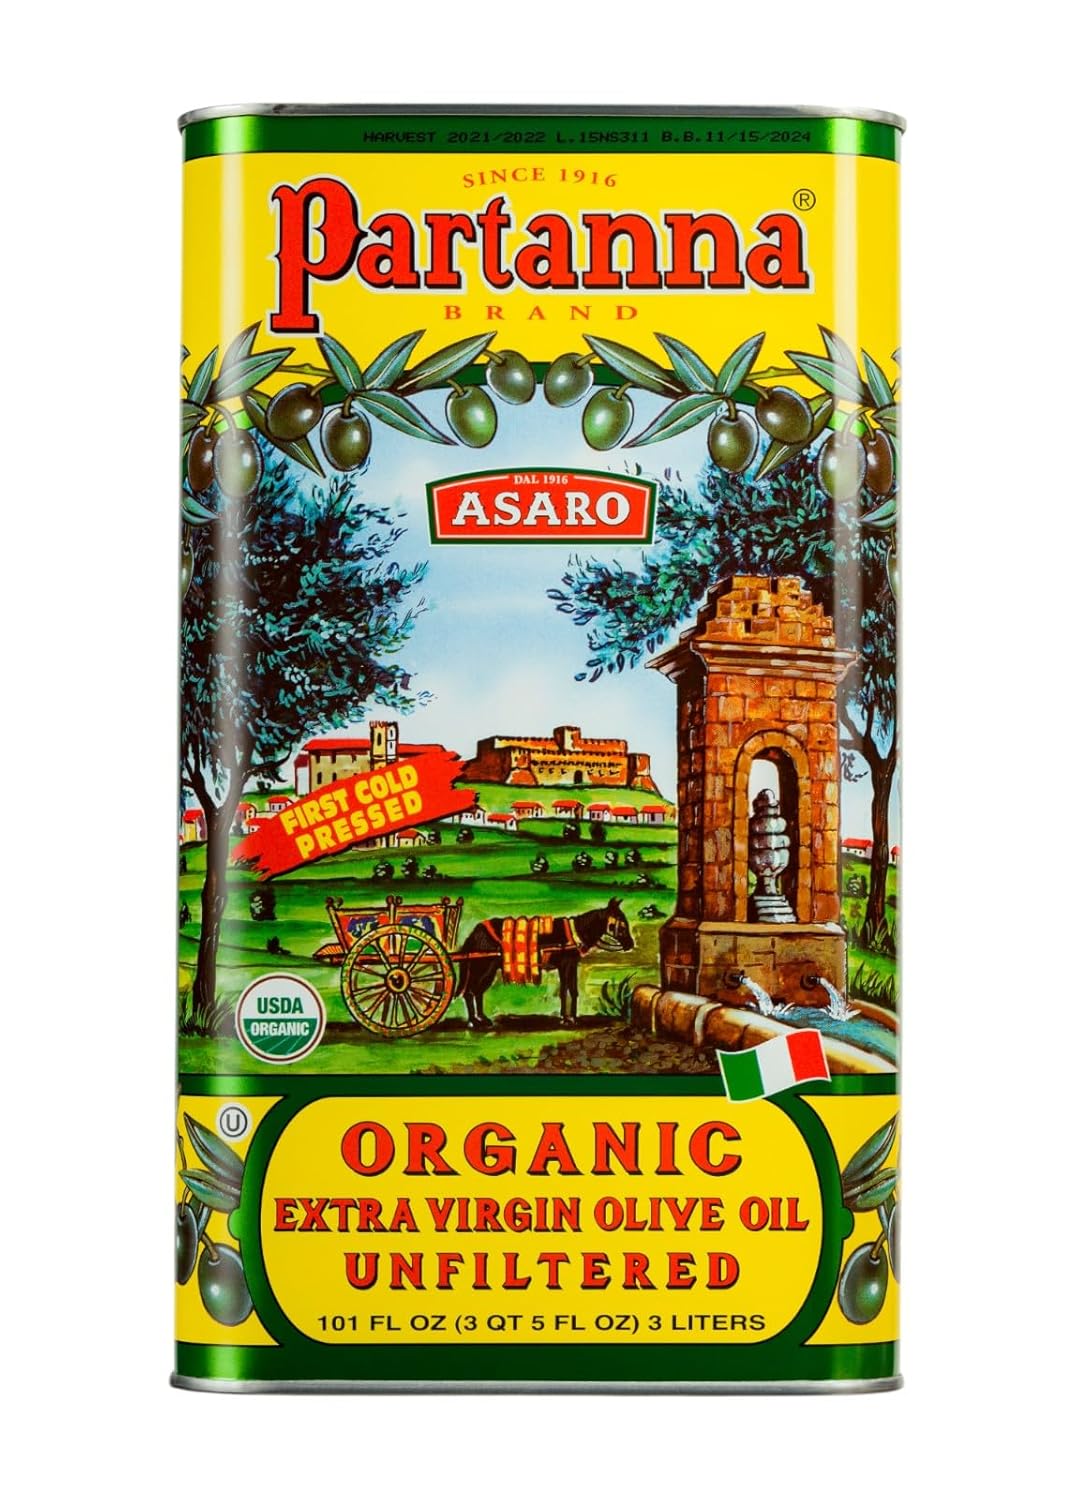
Partanna Organic Unfiltered Extra Virgin Olive Oil – Premium Organic Castelvetrano Oil Harvested in Sicily – Pure Authentic Italian – Monovarietal – Rich in Flavor and Tradition – 101oz (3 liter) Tin
- ORGANIC AND UNFILTERED: This exceptional Sicilian Extra Virgin Olive Oil is organic and unfiltered, ensuring you get the purest and most natural product possible.
- EXCEPTIONAL FLAVOR: Made from 100% Castelvetrano olives, this EVOO offers a distinctive buttery flavor and a rich, luxurious texture.
- HIGHER ANTIOXIDANT LEVELS: Because it is unfiltered, this olive oil contains small amounts of olive pulp and sediment, which contribute to its higher levels of antioxidants and polyphenols compared to filtered olive oils.
- TRADITIONAL CRAFTSMANSHIP: Partanna Sicilian Organic Unfiltered EVOO is produced using time-honored methods passed down through generations.
Add Garlic
Stir in the minced garlic and cook for 1 minute until fragrant. Be careful not to let it brown—burnt garlic can overpower the mellow flavor of the cannellini beans.
Cook the Vegetables
Add the bell peppers, carrots, and celery. Cook for 8–10 minutes, stirring occasionally, until the vegetables begin to soften. This colorful medley adds nutrition, texture, and natural sweetness.
Bloom the Tomato Paste
Push the vegetables to one side of the pot and add the tomato paste to the cleared space. Stir constantly and cook for 2 minutes until it deepens in color—this step intensifies the tomato flavor.
Spice It Up
Sprinkle in the cumin, smoked paprika, oregano, chili powder, and chipotle powder (if using). Stir everything together and cook for another minute until the spices are fragrant and well distributed.
Deglaze and Simmer
Pour in the vegetable broth, scraping up any browned bits from the bottom of the pot to add extra flavor. Add the fire-roasted tomatoes and bay leaf. Bring the mixture to a boil, then reduce the heat and simmer gently for 15 minutes.
Add Cannellini Beans
Add two-thirds of the cannellini beans whole. Mash the remaining third with a fork or the back of a spoon and stir them in—this creates a naturally thick, creamy texture without dairy or flour.
Final Simmer
Continue to simmer for another 10 minutes, stirring occasionally. The chili should thicken enough to coat the back of a spoon while still maintaining a spoonable, flowing consistency.
Finish with Greens and Freshness
Stir in the chopped spinach and cook for 2–3 minutes until wilted. Remove from heat, then add the fresh cilantro and lime juice for brightness and balance.
Season and Serve
Taste and season with salt and freshly ground black pepper as needed. Discard the bay leaf, ladle into bowls, and serve warm.

Nutritional Information Per Serving:
- Calories: 285
- Protein: 12g
- Carbohydrates: 45g
- Fiber: 12g
- Fat: 8g
- Iron: 4.2mg
- Folate: 145mcg
Why Cannellini Beans Make Perfect Chili

The beauty of using cannellini beans in chili lies in their unique characteristics. These Italian white kidney beans have a remarkably creamy texture that becomes even more pronounced when cooked slowly in liquid. Unlike black beans or pinto beans, which can sometimes become mushy, cannellini beans maintain their shape while developing an almost buttery interior.
From a nutritional standpoint, cannellini beans are nutritional powerhouses. Each serving of this recipe provides approximately 12 grams of plant-based protein and an impressive 12 grams of fiber. This combination helps stabilize blood sugar levels, promotes satiety, and supports digestive health. The high fiber content also feeds beneficial gut bacteria, which emerging research suggests plays a crucial role in overall immunity and mental health.
I particularly appreciate how cannellini beans absorb and complement spices without competing with them. The mild, slightly nutty flavor serves as a perfect canvas for the warming spices like cumin and smoked paprika. This makes the dish approachable for people who might find traditional bean chili too assertive or overwhelming.
Mastering the Perfect Cannellini Bean Chili

Creating exceptional cannellini beans chili requires understanding a few key techniques that I’ve discovered through countless kitchen trials and recipe refinements. The most important lesson is building layers of flavor rather than simply throwing everything into a pot simultaneously.
I always start by properly sautéing the aromatics—onions, garlic, and vegetables—until they’re properly softened and beginning to caramelize. This creates a flavor base that cannot be replicated by shortcuts. The tomato paste technique I mentioned earlier is equally important. Cooking it separately allows the sugars to caramelize and concentrate, adding remarkable depth to the final dish.
The partial mashing technique for the beans is another game-changer. By mashing only one-third of the beans, you create natural thickness while maintaining textural interest. This eliminates the need for flour or other thickening agents that can muddy the clean, fresh flavors you’ve worked to develop.
Temperature control during simmering is critical for cannellini beans chili. I maintain a gentle simmer rather than a rolling boil, which prevents the beans from breaking apart and becoming mushy. The slow, steady heat allows the flavors to meld together harmoniously while preserving the integrity of each ingredient.
Creative Variations and Customizations

One of the reasons I love this healthy chili recipe is its incredible adaptability. For those who prefer more heat, I recommend adding one diced jalapeño with the bell peppers or increasing the chipotle powder to a full teaspoon. The smokiness pairs beautifully with the creamy cannellini beans.
For a heartier version, consider adding diced sweet potatoes with the other vegetables. They complement the beans wonderfully and add natural sweetness that balances the spices. Roasted butternut squash works equally well and provides additional beta-carotene and vitamin A.
If you’re following a completely oil-free diet, you can sauté the vegetables using vegetable broth instead of olive oil. Start with ¼ cup of broth and add more as needed to prevent sticking. The final dish will be slightly less rich but equally delicious and satisfying.
For protein variations, this cannellini beans chilli works beautifully with added plant-based ingredients. Crumbled tempeh, diced firm tofu, or cooked lentils can be stirred in during the final minutes of cooking. Each addition transforms the dish while maintaining the starring role of the cannellini beans.
Smart Shopping and Preparation Tips
When selecting canned cannellini beans, I always choose varieties packed in water without added sodium when possible. If you can only find salted versions, be sure to drain and rinse them thoroughly to remove excess sodium. This simple step can reduce the sodium content by up to 40 percent.
For the ultimate flavor experience, consider using dried cannellini beans that you cook yourself. Soak them overnight, then simmer in unsalted water until tender. This method gives you complete control over texture and eliminates any metallic taste that sometimes accompanies canned varieties. However, canned beans work perfectly well and significantly reduce preparation time.
Fresh herbs make a noticeable difference in this healthy chili recipe. While dried herbs work fine during cooking, the fresh cilantro and lime juice added at the end provide brightness that dried versions simply cannot match. If cilantro isn’t your preference, fresh parsley or even fresh oregano work beautifully as alternatives.
Storage and Meal Planning Benefits
This cannellini beans chili actually improves in flavor after a day or two, making it perfect for meal preparation.
❄️ Want to freeze individual portions for busy weeks? I swear by these clever silicone trays designed specifically for freezing soup and chili. Just portion it out, freeze, and pop them into bags for perfect single-serving meals. No more mystery containers at the back of the freezer!
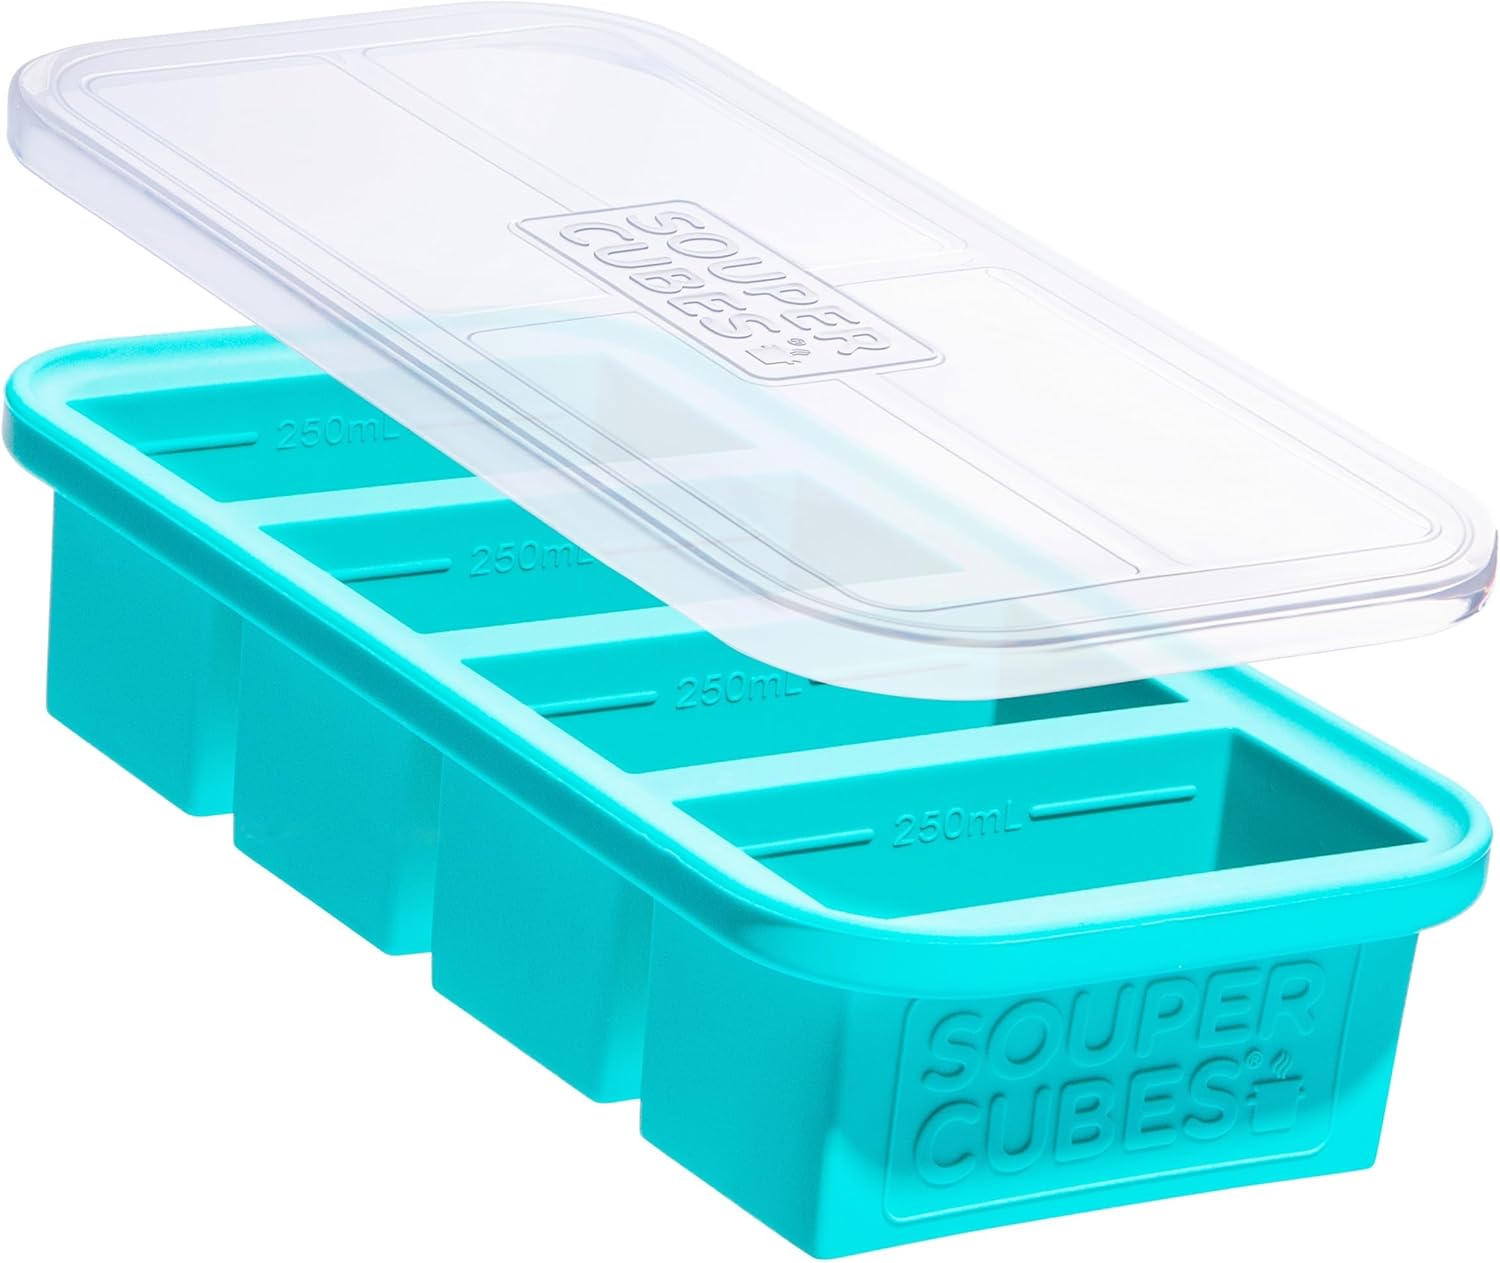
Souper Cubes 1 Cup Silicone Freezer Molds – Soup Cubes Perfect for Freezing Broth, Rice, Leftovers and More – Silicone Freezer Trays with Lids for Meal Prep – Aqua – 1-Pack
- SAVE TIME AND MONEY WITH MEAL PREP: Spend less time thinking about what you’re going to eat and more time enjoying it. Our silicone freezer trays with lid is designed to make meal prep a breeze. The tray is made from food-safe silicone with a steel-reinforced top and a convenient lid.
- 100% PURE PLATINUM FOOD GRADE SILICONE CONSTRUCTION: Flexible, food-safe, and durable, our silicone soup freezer mold is perfect for freezing soups, sauces, broths, and other dishes in the portion size of your choice.
- VERSATILE: Our silicone freezer mold makes baking, freezing, and storing both easy and convenient. The tray is oven-safe up to 415 F (without the lid) and can be washed in the dishwasher.
- EASY TO PORTION: The silicone soup freezer container comes with convenient fill lines at 1/2 cup, 1 cup, 125 mL, and 250 mL. Each tray measures 11.75″ L x 5.75″ W x 2.5″ H.
Store cooled chili in airtight containers in the refrigerator for up to five days. The flavors continue to develop and meld together, often resulting in an even more delicious second serving.
For longer storage, this chili freezes exceptionally well for up to three months. I recommend freezing it in individual portions using freezer-safe containers or bags. This makes it incredibly convenient to thaw exactly what you need for quick, healthy meals during busy weeks.
When reheating, add a splash of vegetable broth or water if the chili has thickened too much during storage. The beans will absorb liquid over time, so this adjustment helps restore the perfect consistency. Reheat gently over medium-low heat, stirring occasionally to prevent sticking.
Serving Suggestions and Pairings
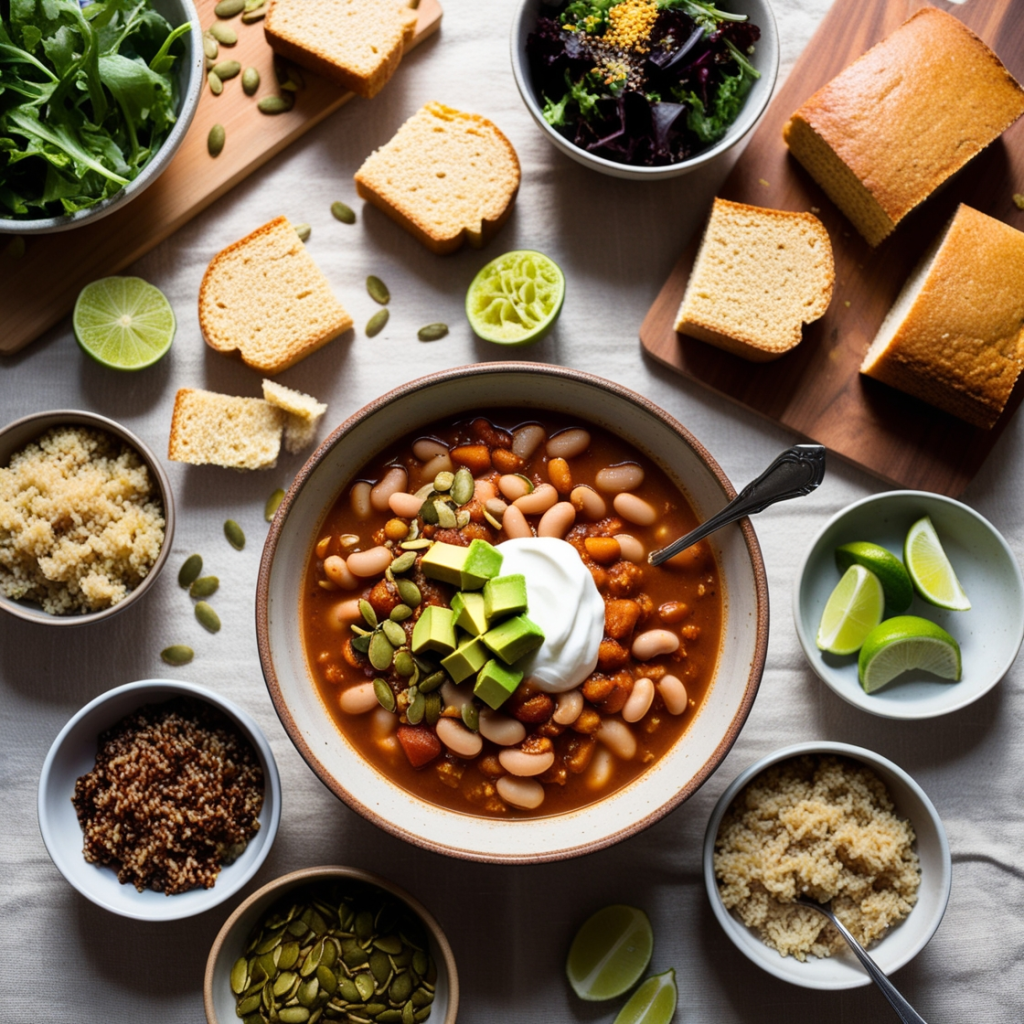
I love serving this nutritious white bean chili with a variety of healthy toppings that complement rather than overwhelm the delicate flavors. A dollop of plain Greek yogurt adds creaminess and beneficial probiotics. Diced avocado provides healthy fats and a cooling contrast to the warm spices.
For added crunch and nutrition, try topping with toasted pumpkin seeds or sunflower seeds. They add protein, healthy fats, and a satisfying texture. A sprinkle of nutritional yeast provides a subtle cheese-like flavor while adding B vitamins.
This chili pairs wonderfully with whole grain cornbread, crusty sourdough bread, or even served over quinoa or brown rice for a complete protein combination. For a lighter option, serve it over a bed of fresh greens as a warm, nourishing salad.
The Health Impact of Regular Bean Consumption
Beyond the immediate satisfaction of a delicious meal, incorporating dishes like cannellini beans chilli into your regular rotation provides significant long-term health benefits. Research consistently shows that people who eat beans regularly have lower rates of heart disease, diabetes, and certain cancers.
The high fiber content in cannellini beans helps lower cholesterol levels by binding to cholesterol in the digestive system and removing it from the body. This same fiber also slows the absorption of sugars, helping to prevent blood sugar spikes and crashes that can lead to cravings and overeating.
The plant-based protein in this healthy chili provides all the essential amino acids your body needs while being easier to digest than many animal proteins. This makes it an excellent choice for people looking to reduce their meat consumption without sacrificing protein intake or meal satisfaction.
Frequently Asked Questions

Can I make this chili in a slow cooker? Absolutely. After sautéing the aromatics and vegetables on the stovetop, transfer everything to a slow cooker and cook on low for 6-8 hours or high for 3-4 hours. Add the spinach and fresh herbs during the last 30 minutes of cooking.
What’s the best way to make this chili spicier? For more heat, add diced jalapeños or serrano peppers with the bell peppers. You can also increase the chipotle powder or add a pinch of cayenne pepper. Hot sauce can be added at the end to taste.
Can I substitute other beans for cannellini beans? While cannellini beans provide the best texture and flavor for this recipe, great northern beans or navy beans work as close substitutes. The texture will be slightly different, but the dish will still be delicious.
How can I make this recipe oil-free? Replace the olive oil with vegetable broth for sautéing. Use about ¼ cup initially and add more as needed to prevent sticking. The final dish will be slightly less rich but equally nutritious.
Is this chili suitable for meal planning? Yes, this cannellini beans chilli is excellent for meal preparation. It keeps well in the refrigerator for up to five days and freezes beautifully for up to three months. The flavors actually improve after a day or two.
This nourishing white bean chili represents everything I love about plant-based cooking—it’s satisfying, nutritious, and absolutely delicious while being accessible to cooks of all skill levels. The combination of creamy cannellini beans, aromatic vegetables, and warming spices creates a dish that nourishes both body and soul, proving that healthy food never has to sacrifice flavor or satisfaction.
Final Thoughts
Making this Cannellini Bean Chili has become more than a recipe—it’s my way of feeding my family something that truly fuels us. In a world full of heavy, forgettable meals, this one stands out by leaving us energized, satisfied, and actually feeling good afterward. It’s comfort food with a purpose—nourishing, restorative, and always worth going back for.
What I find most rewarding is how this dish challenges preconceptions about healthy eating. Too often, nutritious meals are portrayed as boring, but this white bean chili proves that wholesome ingredients can create something genuinely exciting and craveable. The creamy texture, complex flavors, and satisfying protein content appeal to everyone, regardless of dietary preferences.
The beauty of perfecting this recipe lies in its versatility and reliability. Once you understand the basic technique, you can adapt it to whatever vegetables you have on hand, adjust spice levels, and transform it into different meals throughout the week. It’s a foundational recipe that builds kitchen confidence while delivering consistent results.
I encourage you to make this recipe your own. Try the variations I’ve suggested, experiment with different vegetables, and adjust seasonings to match your preferences. Most importantly, enjoy creating something nourishing from simple, wholesome ingredients.
If you’re new to cooking with cannellini beans or seeking a healthier twist on classic chili, this recipe offers a perfect starting point for exploring plant-based comfort food that truly satisfies.

*We may earn a commission for purchases made using our links. Please see our disclosure to learn more.