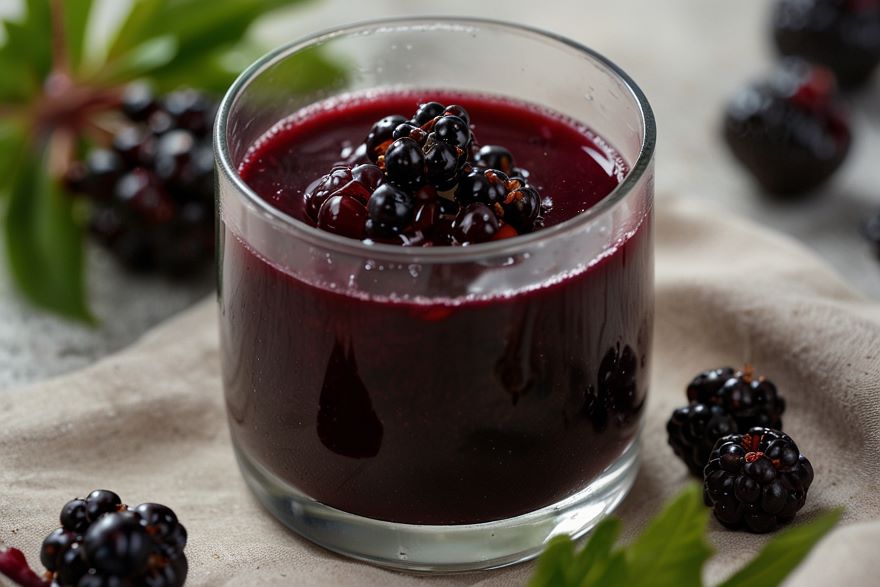
Are you eager to enhance your health and well-being using the benefits of elderberries? If you’re anything like me, you’re always searching for ways to strengthen your system and boost overall health. This is where elderberry juice steps in – a nutrient-rich potion that has been cherished for centuries for its health-boosting properties.
Being a health enthusiast and devoted juicer, I have long been captivated by the advantages of elderberries. These small purple fruits are packed with antioxidants, vitamins and minerals that can aid in supporting immunity-combating inflammation and enhancing digestion. What makes elderberries truly exceptional is their adaptability – you can savor them fresh dried or as a juice brimming with taste and nutrients.
In this article we will delve into the realm of crafting juice through two methods. I will provide insights into making juice at home using both a stovetop approach and a long lasting version that does not necessitate any additional sugar.
Whether you’re a juicer or just starting to explore the wonders of this superfruit, you’ll discover a wealth of advice, techniques and motivation to kickstart your journey.
So grab your juicer (or even a pressure cooker!). Prepare to uncover the advantages of juicing elderberries. Your taste buds (and your immune system) will be grateful!
Making Elderberry Juice
Now that we’ve gone over the basics, let’s delve into the approach for crafting juice in your own kitchen. This classic stovetop method is a choice among fans for its simplicity, effectiveness and ability to produce a tasty nutrient rich juice that can become part of your daily routine.
To begin, gather the ingredients: water, elderberries, cinnamon, lemon (both the juice and zest) and ginger. These components harmonize to produce a powerful juice packed with immune-boosting benefits.
Instructions
The process itself is simple – mix all your ingredients in a pot and bring them to a boil. Then lower the heat. Let it simmer for 30-45 minutes to allow the elderberries to release their nutrients and blend their flavors together.
After your juice has finished simmering, it’s time to strain out the solids. You can use a mesh strainer or a cheesecloth to separate the liquid from the berries, cinnamon sticks and lemon rind. No need to toss out the used elderberries – they’ve already infused their goodness into the juice!
If you’re in a rush, you can try a version of this recipe by simmering the mixture on heat for just 20 minutes. While this method may not extract nutrition from the berries, it’s still a good choice when you want a fast and simple immune boost.
Serving and Storage
Now let’s discuss how to serve and store your juice. Many people like taking a shot of the juice to bolster their system especially during cold and flu season. You can also blend it into your smoothie or enjoy it on its own as a delicious and nutritious beverage.
Keep in mind that elderberry juice will thicken slightly in the fridge due to the pectin in the berries. This is perfectly normal and doesn’t impact the quality or flavor of the juice – just give it a stir before serving.
So there you have it – a tasty way to prepare juice at home using the traditional stovetop approach. What if you’re looking to make a batch and save it for later? Keep an eye out for the section where we’ll delve into a shelf version of elderberry juice that doesn’t need any additional sugar!
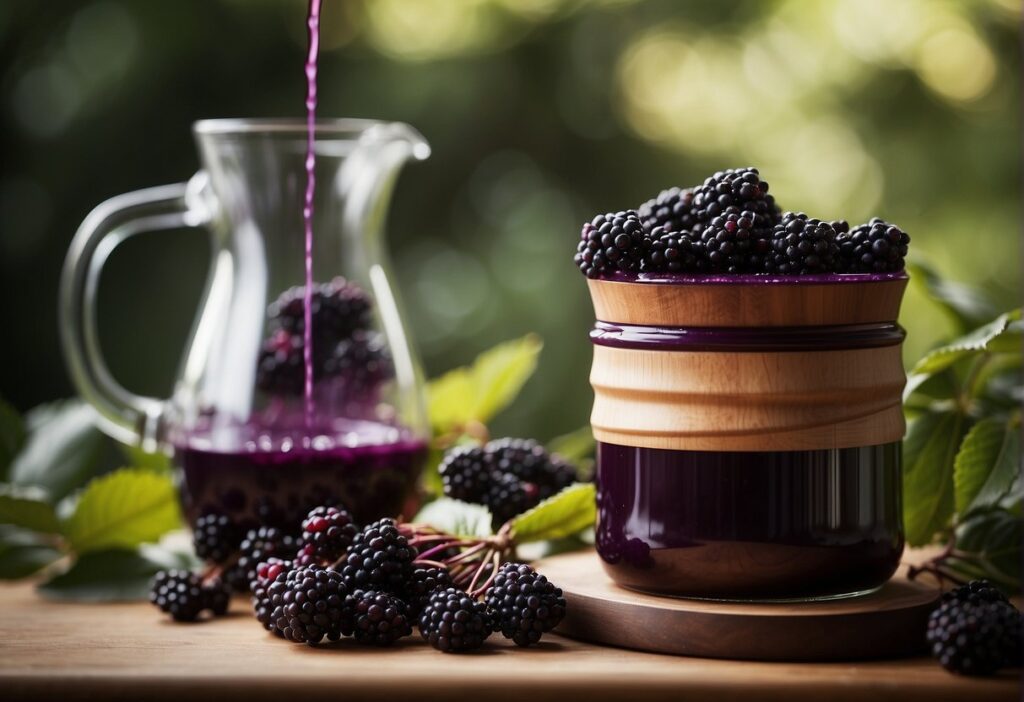
Now that we’ve discussed the stovetop method for creating juice, let’s look at another option that’s ideal for those wanting to produce a bigger quantity and store it. This shelf-stable variation doesn’t call for sugar, making it appealing to health individuals.
Harvesting Elderberries
The initial step in this procedure involves gathering your elderberries. If you happen to have elderberries on hand, you’ll have to separate them from the clusters before juicing. There are two techniques for accomplishing this… using a fork to dislodge the berries from the stems or freezing the clusters first to facilitate berry removal. I personally prefer the freezing technique as it’s typically quicker and results in stems and debris getting mixed in with the berries.
Extracting the Juice
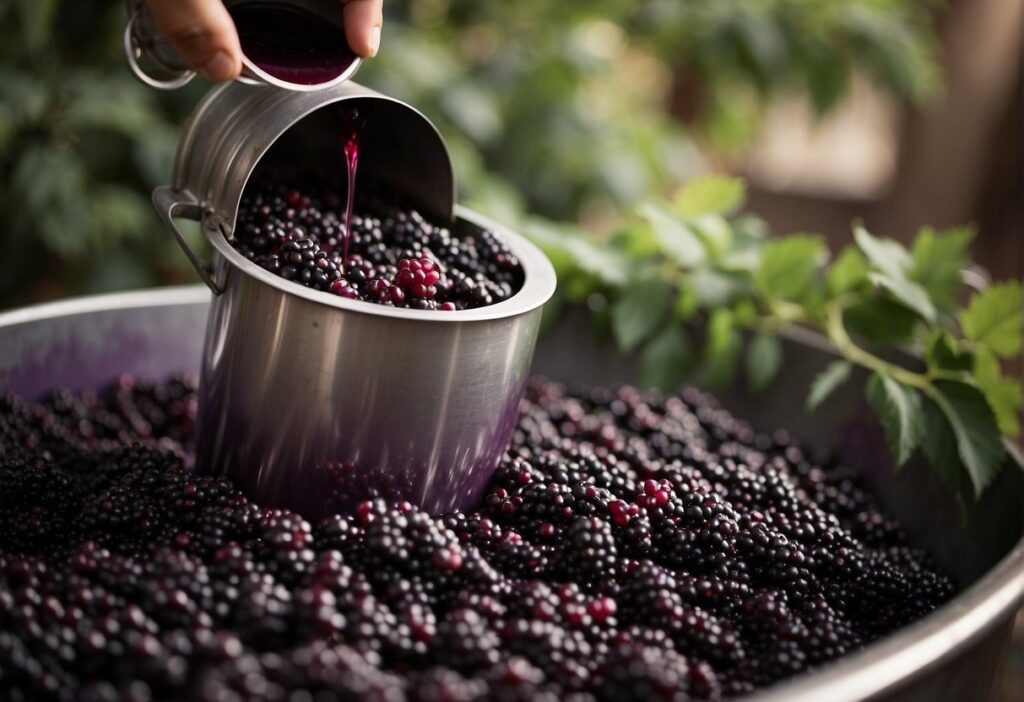
After harvesting your elderberries it’s time to extract the juice. Here’s where the magic of pressure cooking really shines! Just pop your berries into a pressure cooker. Let them cook on high pressure for a quick five minutes. This speedy cooking method helps break down the berries and extract their juices making straining a breeze.
Once you’ve finished pressure cooking, strain the juice using a mesh strainer or cheesecloth to remove any seeds and pulp. Hold onto that pulp though – you can freeze it for use in smoothies or baked goods adding a flavorful touch to your favorite treats.
Canning the Juice
With your strained elderberry juice ready, it’s time to preserve it for the haul through canning. Canning is a way to keep your juice fresh and packed with nutrients without resorting to added sugars or artificial preservatives.
The water bath canning technique is an efficient method for canning your juice at home. Simply fill sterilized jars with juice leaving some space at the top, and lower the jars in a boiling water bath for a specific duration. This process creates an air-tight seal that safeguards the juice from bacteria contamination and spoilage.
If you’re just starting out with canning, no need to fret – there are tons of resources online to get you going. I suggest checking out some YouTube tutorials on water bath canning for guidance and tricks.
By following these steps, you can make a lasting version of elderberry juice that will stay fresh for months (or even years!) in your pantry. Since this method doesn’t call for any sugar, you can enjoy the pure untouched goodness of elderberries guilt-free whenever you crave a nutritious and flavorful boost.
So why wait? Grab some elderberries. Start juicing! Your body (and your taste buds) will be grateful.
While juicing and canning are ways to preserve elderberries, they’re not the options available. If you want ways to savor the benefits of this superfruit year round, consider dehydrating or making tinctures.
Dehydrating
Dehydrating elderberries is a method to create an ingredient that stays fresh on the shelf for various recipes. To dehydrate elderberries, simply lay out the berries on a dehydrator tray. Dry them at a temperature until they’re completely moisture free. This process might take from a few hours to a day or longer depending on how humid and warm your surroundings are.

We’ve been trying out the COSORI Dehydrator. We’re really impressed, with its features.
The dehydrator offers a temperature range of 95 176°F and a timer that can be set from 30 minutes to 48 hours making it ideal for preparing a variety of treats like dried fruits. Additionally, the five stainless steel trays provide plenty of space for all your snacks.
It’s important to note that dehydrated elderberries need to be cooked before using them. This is because the raw berries contain substances that could upset your stomach if eaten in moderate amounts. Cooking the berries breaks down these substances and makes them safer for consumption.
Dehydrated elderberries can be used in recipes such as teas, syrups, baked goods and savory dishes. They provide a burst of flavor and nutrients to enhance your favorite foods and drinks.
Making Tinctures with High-Proof Alcohol
Another way to preserve elderberries is by making tinctures with high-proof alcohol. Tinctures are extracts that can be taken directly or added to other recipes for an extra dose of elderberry goodness.
To create a tincture, fill a jar with dried elderberries. Pour high-proof alcohol (like vodka or grain alcohol) over them. Let the mixture sit for 4-6 weeks, giving it a shake to extract the beneficial compounds from the berries. After steeping, strain out the berries. Store the tincture in a glass bottle.
Precautions with Elderberry Tinctures
Elderberry tinctures can be an effective way to reap the benefits of this superfruit. They may not be suitable, for everyone due to their high alcohol content. It’s important not to use tinctures if you’re pregnant, nursing a child or have a history of alcohol sensitivity or abuse.
If you decide to make tinctures, make sure to follow safety precautions and seek advice from a healthcare professional if you have any concerns.
Preserving Elderberries for Year-Round Benefits
So there you have it – two methods for preserving elderberries and enjoying their advantages year round. Whether you opt for juicing, canning, dehydrating or making tinctures, incorporating this superfruit into your routine is a positive choice.

Elderberries are indeed a superfruit worth having in every health kitchen. With their antioxidants, immune-boosting qualities and versatile taste profile, elderberries provide a beneficial way to enhance your overall health.
Throughout this piece we’ve discussed ways to create and store homemade elderberry juice. From the stovetop approach to the lasting canning method, there are numerous ways to relish the perks of elderberry juice throughout the year.
By using methods to preserve like drying and creating herbal extracts, you can explore various ways to include elderberries in your meals.
However, the advantages of elderberries extend beyond their flavor and convenient preservation techniques. By incorporating juice and other elderberry items into your regimen, you can bolster your immune system, combat inflammation and enhance overall well-being. With a wide range of tasty recipes available, integrating elderberries into your routine has never been simpler.
Being a nutrition writer and avid fan of elderberries, I am enthusiastic about spreading the benefits of this superfruit with as many individuals as possible. Whether you’ve been enjoying elderberries for years or are just discovering the wonders of this plant, I trust that this article has motivated you to experiment in the kitchen and begin savoring all the goodness that elderberries bring.
So why hesitate? Get some elderberries now. Start juicing, preserving, dehydrating or creating extracts today. Your body (and your palate) will be grateful!

*We may earn a commission for purchases made using our links. Please see our disclosure to learn more.