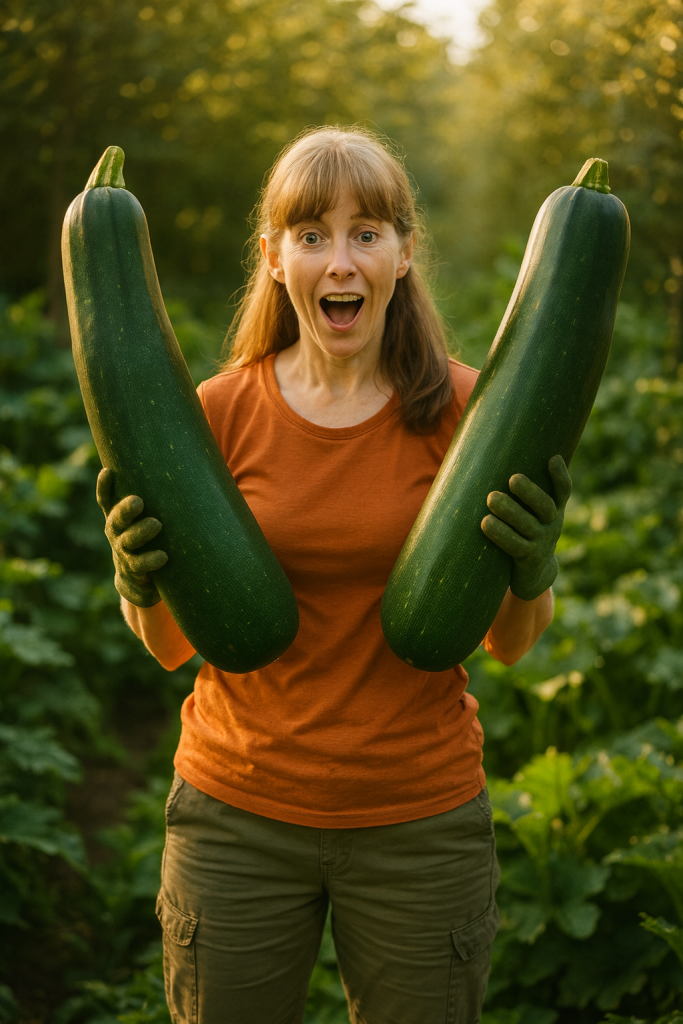
The first time I made my own zucchini relish recipe, I was standing in my garden staring at seven massive zucchinis that had somehow grown to the size of baseball bats overnight. You know that moment when you realize you’ve been too busy to check the garden for a few days, and the vegetables take revenge by growing to ridiculous proportions? That was me, holding what looked like green clubs, wondering what on earth I was going to do with them.
I’d always been intimidated by canning. The whole process seemed complicated, time-consuming, and frankly, a bit scary. But as I stood there with my harvest, I remembered my grandmother’s relish that she’d make every summer. The tangy, crunchy condiment that made everything taste better. That memory gave me the courage to try, and I’m so glad I did.
Why Homemade Makes a Difference
Store-bought relish had been my go-to for years until I actually read the label. High fructose corn syrup was the second ingredient, along with preservatives I couldn’t pronounce, artificial colors, and enough sodium to make my blood pressure rise just looking at it. Making my own meant using those giant zucchinis from my garden to create something delicious and healthy. My homemade version costs a fraction of what organic store-bought relish does, and I know exactly what’s in every jar.
There’s something deeply satisfying about transforming simple garden vegetables into jars of flavor that will last through the winter. When I open a jar in January and taste that bright, tangy crunch, it brings back the warmth of summer.
The Difference Between Relish and Pickle
Before I started making relish, I honestly thought it was just chopped-up pickles. Turns out, pickles are typically whole or large pieces of vegetables preserved in brine, while relish is finely chopped vegetables combined with vinegar, spices, and a bit of sweetener to create a chunky condiment.
The texture is what sets them apart. Relish has that fine, almost minced consistency that makes it perfect for spreading or mixing into dishes. Zucchini works beautifully because it has a mild flavor that takes on seasonings wonderfully and maintains texture without getting mushy.
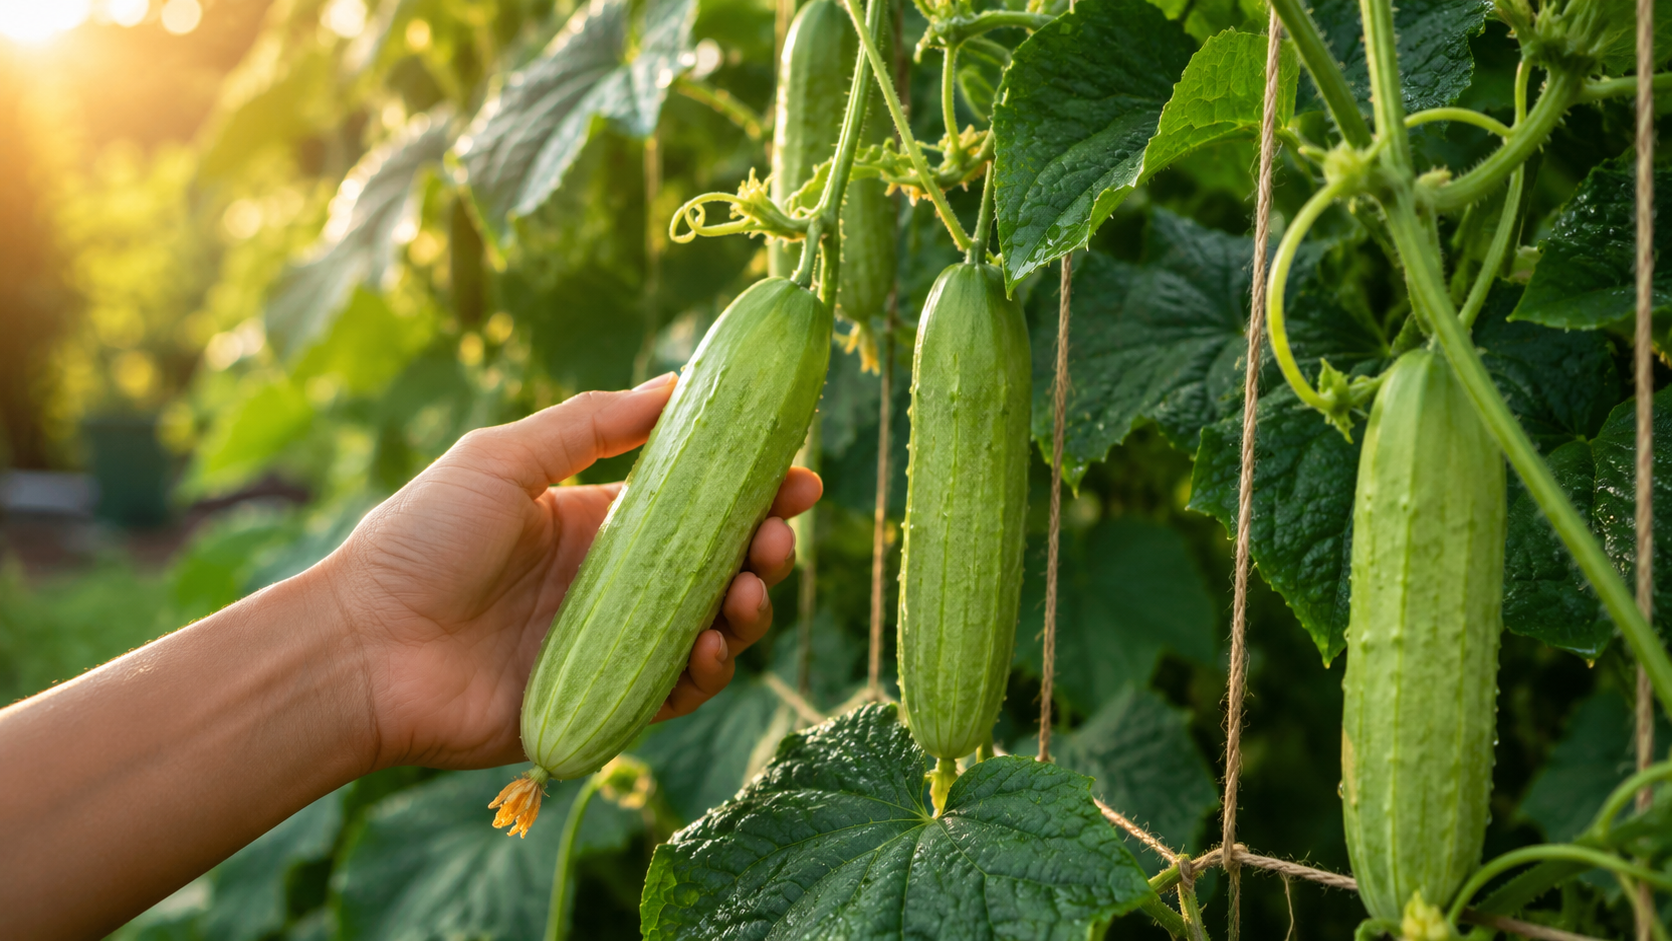
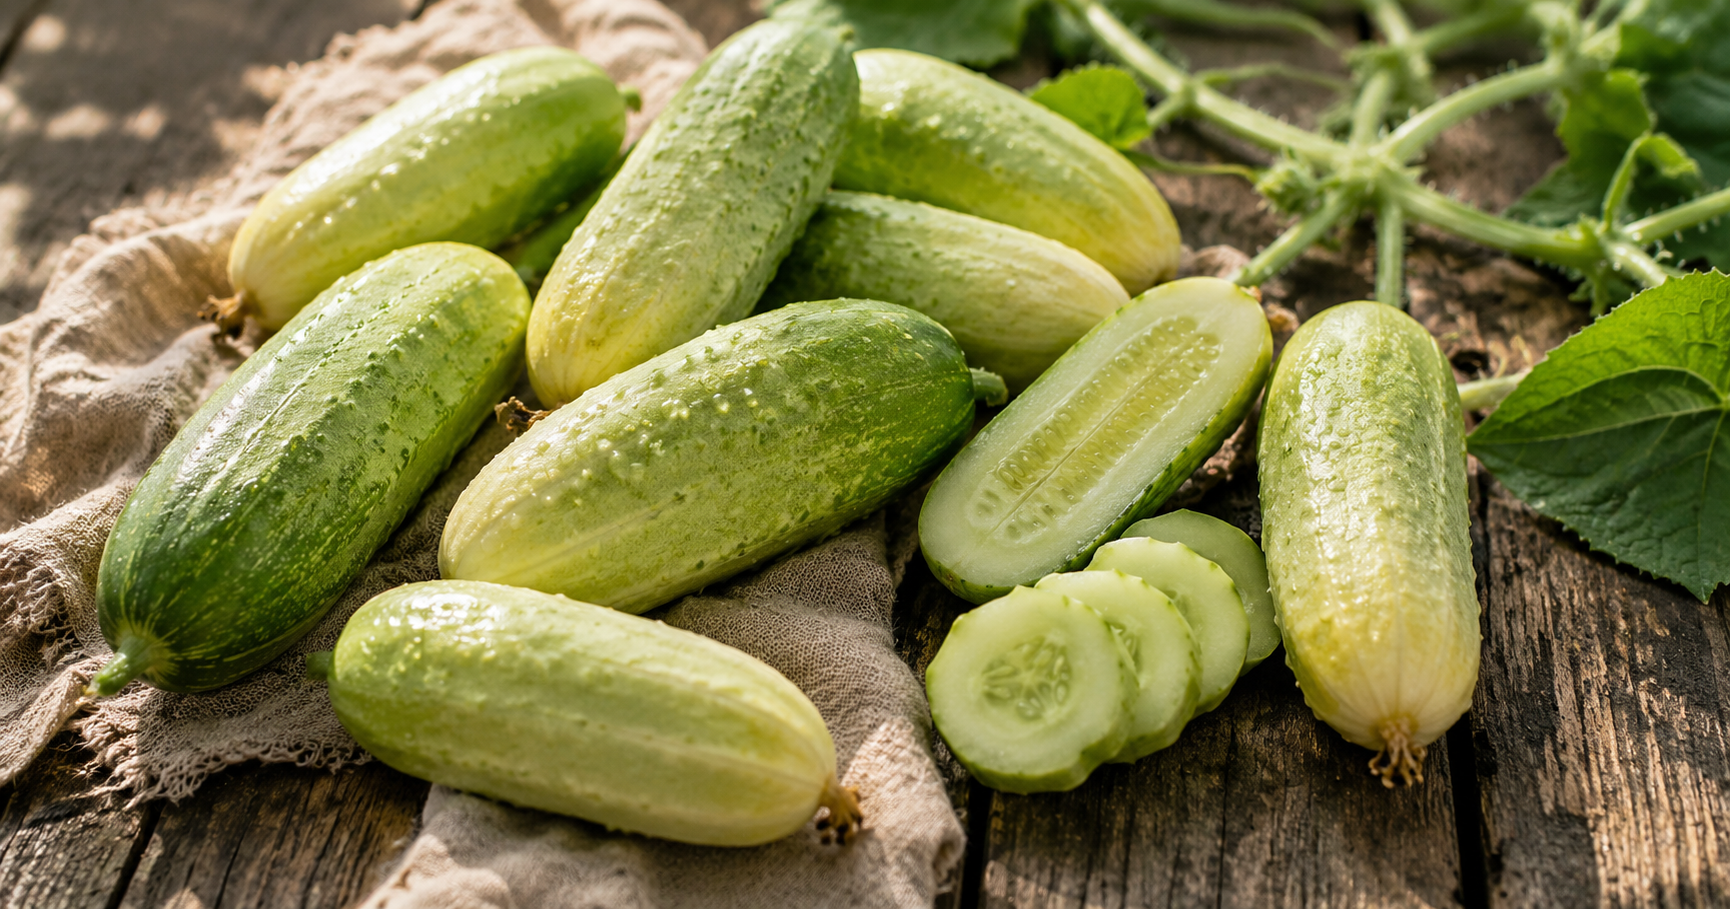
Choosing and Preparing Your Zucchini
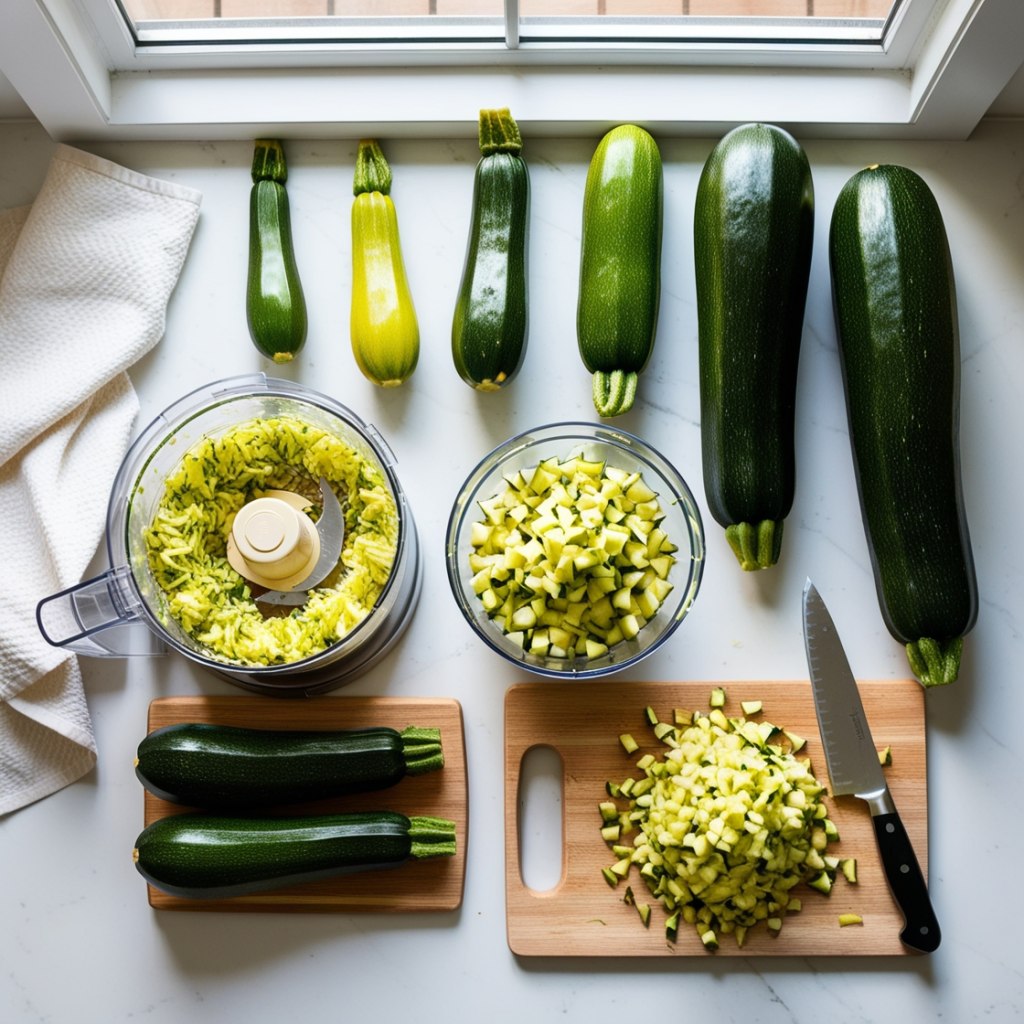
Not all zucchinis are created equal when it comes to making relish. Those monster zucchinis I had? They actually worked, but medium-sized zucchinis (about 6-8 inches long) make better relish with fewer seeds and more flesh, which means better texture.
Look for firm zucchinis with bright, unblemished skin. If you can poke your fingernail into the skin easily, it’s overripe. When it comes to chopping, consistency is key. I use a food processor with the pulse function to get uniform pieces about the size of a corn kernel.
Meet the NutriMill Artiste — a sleek, powerful stand mixer designed for serious home cooks and batch makers. With multiple speed settings and a range of attachments, it easily tackles big batches of relish, kneads dough, whips creams, and more — turning your kitchen into a true food-lab

NutriMill Artiste Kitchen Electric Stand Mixer 500 Watt 6.5 Quart Bowl with Dough Hook & Wire Whips (Black Trim)
- Mix More – 6.5 quart bowl is perfect for any kitchen task, even knead dough in batches of 6 lbs
- Powerful motor delivers power directly through the bottom drive and outperforms stand mixers with a tilt-head
- Has everything you need – Comes with the stand mixer, Bowl and easy open cover, extended length Dough Hook, wire Whips, & Recipe Book
- Safe and Stable Stand Mixer – The suction cup feet prevent “walking” off the counter with 6 lb batches of dough/li>
Should You Peel Your Zucchini? Keep the peel on. The skin adds lovely green flecks, contains nutrients like vitamin C and fiber, and helps the zucchini maintain its structure during cooking. The only time I’d peel zucchini is if you’re using those baseball-bat-sized ones with tough, bitter skin.
The Salt Soak: Why This Step Matters
When I first read recipes calling for a salt soak, I was tempted to skip it. Then I tried making a batch without it. The result? Watery, bland relish that had no crunch whatsoever.
The salt draws out excess moisture from the vegetables. Zucchini is about 95% water, and if you don’t remove some of that liquid before canning, you’ll end up with diluted, soggy relish. I let my chopped vegetables sit in salted cold water for at least three hours, though overnight in the refrigerator is even better. When you rinse them thoroughly afterward (and this is important – really rinse them well), you remove the excess salt along with that water.
My Healthy Zucchini Relish Recipe
After several years of experimenting, I’ve developed a recipe that’s become my go-to every summer. What makes it special is the significantly reduced sugar content compared to traditional recipes. I use raw honey instead of refined sugar, cutting the sweetness by about 70% while still creating a perfectly balanced relish.
The turmeric adds a beautiful golden hue and brings anti-inflammatory benefits. Apple cider vinegar not only preserves the vegetables but also aids digestion.
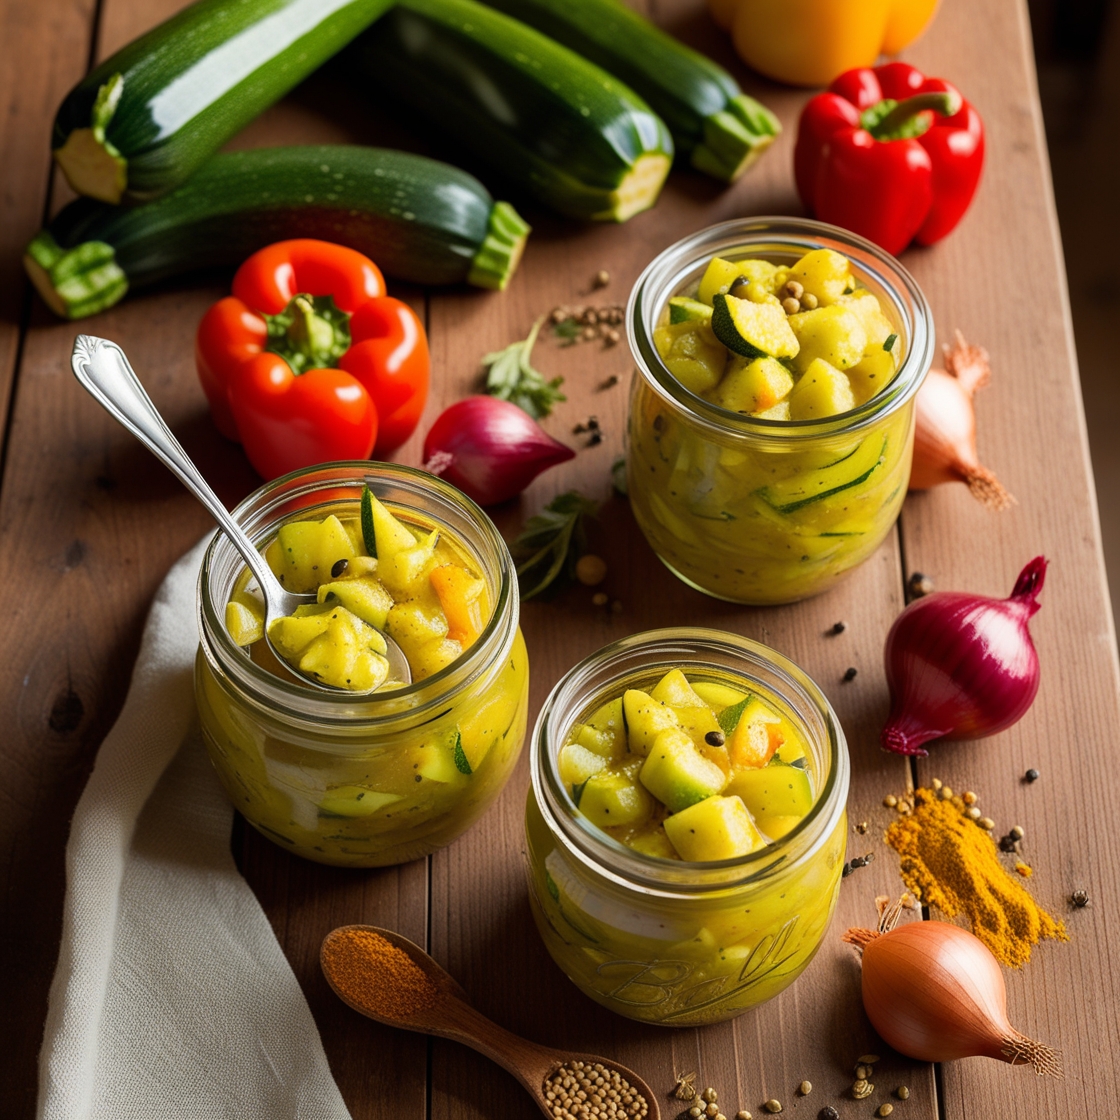
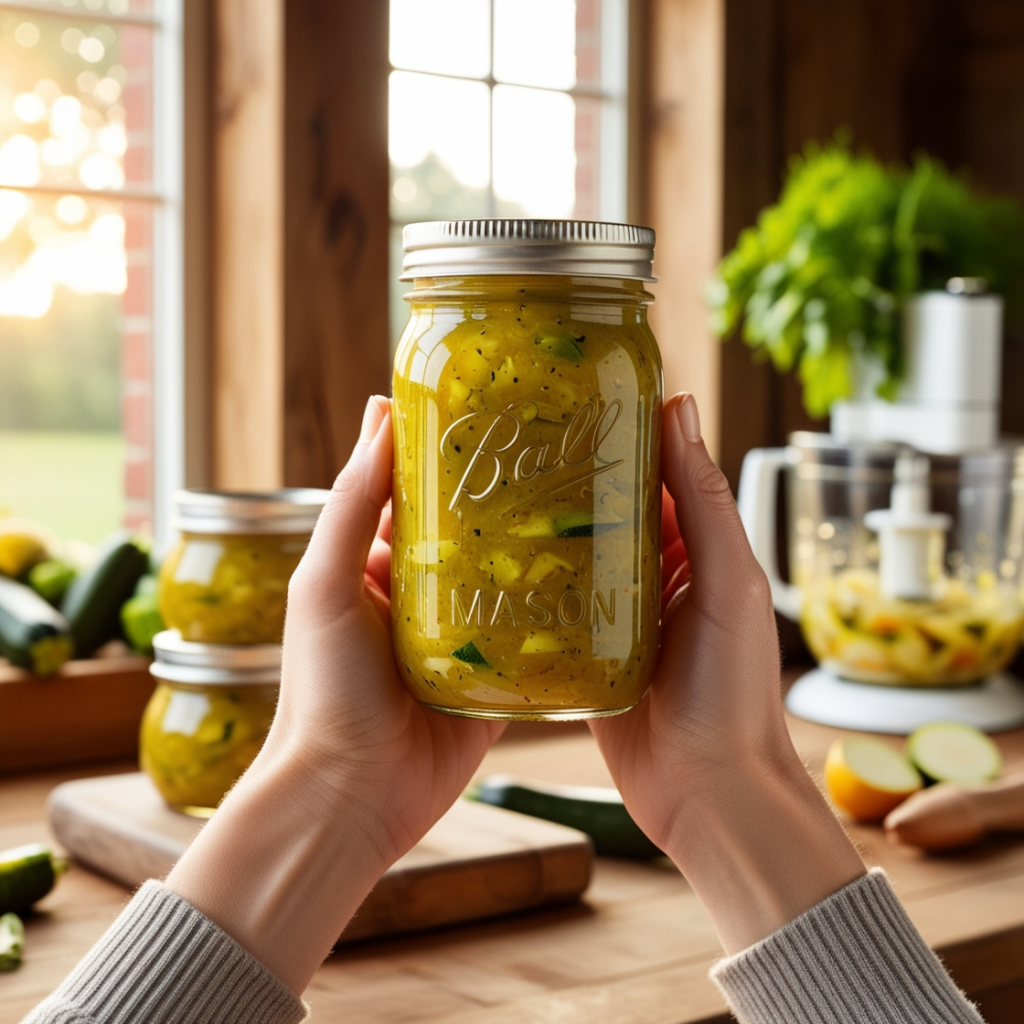
Healthy Low-Sugar Zucchini Relish Recipe
This healthier take on traditional relish reduces sugar by 70% while delivering the same tangy, crunchy satisfaction you crave. Raw honey and apple cider vinegar create a perfectly balanced flavor, while turmeric adds beautiful color and anti-inflammatory benefits. The recipe is straightforward enough for first-time canners but impressive enough to gift to friends and family.
Ingredients:
- 10 cups zucchini, finely chopped (about 3 pounds or 6-7 medium zucchini)
- 4 cups yellow onions, finely chopped (about 3 large onions)
- 2 red bell peppers, finely chopped
- 1/4 cup sea salt or canning salt
- 3 cups apple cider vinegar (5% acidity)
- 1/2 cup raw honey (or coconut sugar)
- 2 tablespoons mustard seeds
- 1 tablespoon celery seeds
- 1 tablespoon ground turmeric
- 1/2 teaspoon black pepper
Instructions:
- Place chopped zucchini, onions, and bell peppers in a large non-reactive bowl (glass or stainless steel)
- Sprinkle with sea salt and toss to combine
- Cover with cold water and let stand for 2-3 hours or overnight in the refrigerator
- Drain vegetables in a colander and rinse thoroughly under cold running water to remove excess salt
- Press gently to remove excess moisture, then set aside
- In a large, heavy-bottomed pot (at least 8-quart capacity), combine apple cider vinegar, honey, mustard seeds, celery seeds, turmeric, and black pepper
- Bring mixture to a rolling boil over medium-high heat, stirring occasionally
- Add drained vegetables to the boiling vinegar mixture
- Return to a boil, then reduce heat to medium and simmer for 15-20 minutes, stirring frequently to prevent sticking
- While relish is cooking, prepare your canning jars by sterilizing them in boiling water or running them through a dishwasher cycle. Keep jars hot until ready to fill
- Ladle hot relish into hot sterilized jars, leaving 1/2-inch headspace
- Remove air bubbles by running a non-metallic spatula around the inside of each jar
- Wipe jar rims clean with a damp cloth
- Place lids on jars and screw bands on fingertip-tight
- Process in a boiling water bath for 15 minutes (add 5 minutes for 1,001-6,000 feet elevation)
- Remove jars from water bath and place on a towel-covered counter
- Let cool undisturbed for 12-24 hours
- Check seals by pressing the center of each lid—it should not flex
- Label jars with contents and date, then store in a cool, dark place
Yield: 6-7 pint jars
Prep Time: 30 minutes (plus 2-3 hours salting time)
Cook Time: 25 minutes
Total Time: 3-4 hours
Health Benefits:
- 70% less sugar than traditional recipes
- Rich in vitamins A and C from bell peppers
- Anti-inflammatory properties from turmeric
- Probiotic-friendly ingredients support gut health
- Apple cider vinegar aids digestion
- No artificial preservatives or high-fructose corn syrup
- Low calorie condiment (approximately 15 calories per tablespoon)
- Antioxidant-rich vegetables
Tips for Perfect Results
After making dozens of batches, I’ve learned some tricks that make all the difference. Consistency in chopping is critical. If you’re using a food processor, pulse in short bursts rather than running it continuously.
Say goodbye to hand-stirring fatigue. With a KitchenAid Artisan stand mixer, you can chop, mix, and turn your zucchini, onions, and peppers into relish batter in a fraction of the time — while you sip iced tea or check your garden.

KitchenAid Artisan Series 5 Quart Tilt Head Stand Mixer with Pouring Shield KSM150PS, Pistachio
- Built to take it all on with the durable and built-to-last metal construction, and 59 touchpoints around the mixer bowl for great mixing results.
- 5 Quart Stainless Steel Bowl with comfortable handle for small or large batches, to mix up 9 dozen cookies* in a single batch. Dishwasher safe. *Using the flat beater; 28g dough each.
- Easily add ingredients with the tilt-head design, because you’ll have better access to the bowl – lock the head in place while mixing.
- 10 speeds for nearly any task or recipe, from mixing ingredients together on the stir speed, to whipping cream at speed 8, you’ll get thorough ingredient incorporation every time.
The headspace measurement matters more than I initially thought. That 1/2-inch gap at the top of the jar isn’t arbitrary. Too much headspace and your jars might not seal properly. Too little, and the contents can bubble up under the lid during processing, breaking the seal.
Testing jar seals has become my favorite part. I press the center of each lid after the jars have cooled completely. If it flexes up and down, the seal fails, and that jar needs to go in the refrigerator for immediate use.
Common Mistakes to Avoid
Skipping the salt soak produces watery relish that just isn’t worth serving. Using too much or too little vinegar throws off the preservation chemistry. The acidity level needs to be precise for safe canning. Always measure carefully and never reduce the vinegar in canning recipes.
Overcooking the vegetables is another common pitfall. You want them heated through and flavors melded, but not cooked to mush. The 15-20 minute simmer time is ideal for maintaining that crunchy texture.
Not sterilizing jars properly can lead to spoilage. I run my jars through the dishwasher on the sanitize cycle, timing it so they’re hot when the relish is ready.
Canning Safety Essentials
The acidity level is your safety net. The vinegar in this zucchini relish recipe creates an acidic environment where harmful bacteria like botulism can’t survive. That’s why you can process this in a simple water bath rather than needing a pressure canner.
Proper water bath canning means the water covers the jars by at least one inch and comes to a full rolling boil before you start timing. Processing time starts when the water returns to a full boil after adding the jars.
Signs of spoilage are usually obvious. Bulging lids, visible mold, off smells, or cloudy liquid all mean the jar needs to go straight into the trash. When in doubt, throw it out.
Ways to Use Your Relish
I’ve discovered it transforms grain bowls and Buddha bowls. Mixed into chickpea salad or mashed chickpea sandwiches, it brings moisture and zing that keeps lunch from being boring. Stirred into hummus or white bean dip with some chopped fresh herbs creates an instant appetizer that gets rave reviews.
The first time I served this to my husband at a summer cookout, he took one bite and said, “Where has this been all my life?” That tangy crunch complements so many savory flavors perfectly.
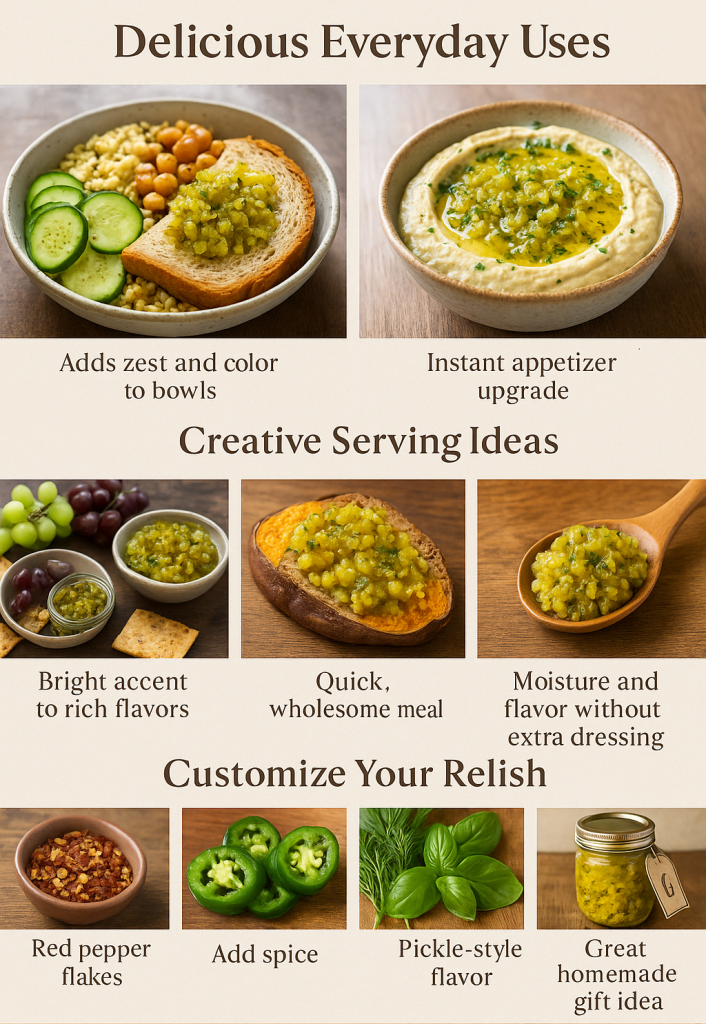
Creative Serving Ideas
On a vegan cheese board, relish adds a bright, acidic element that cuts through rich flavors. Mixed into grain dishes like quinoa or brown rice, it adds moisture and flavor without needing additional dressing.
Topping baked potatoes or sweet potatoes with relish instead of traditional toppings has become my quick lunch. Add some nutritional yeast and you’ve got a complete meal in minutes.
Customizing Your Zucchini Relish Recipe
Once you’ve made the basic version, feel free to experiment. I adjust the red pepper flakes depending on who I’m giving the relish to. Adding jalapeños or other hot peppers creates a completely different flavor profile. Just maintain the overall vegetable-to-vinegar ratio.
Herb variations can be fun. I’ve added fresh dill, which created something closer to pickle relish. Fresh basil added near the end of cooking brought an Italian flair.
If you ever find yourself with zucchini and peppers beyond what relish can use, this Ivation food dehydrator lets you dry thin slices for chips or powder them into seasoning blends — turning your bounty into snackable treasures.

Ivation 6 Tray Commercial Food Dehydrator Machine |600w, Easy Setup, Digital Adjustable Timer and Temperature Control | Dryer for Jerky, Herb, Meat, Beef, Fruit and To Dry Vegetables | Stainless Steel
- REAR-MOUNTED AUTOMATIC FAN: The Fan Inside This Dehydrator Circulates Warm Air with 600W of Heating Power to Ensure Your Food Product Is EVENLY DRIED from All Angles.
- SIX SPACIOUS TRAYS: Room For Six Trays (13” X 12”) Means You Have Room to Preserve All Your Favorite Beef Jerky, Fruit, Snacks, Vegetables, Bread, Herbs, Dog Treats and Even More for Long Lasting Superior Health Benefits! You Can Remove One or More Trays at a Time to Make Room for Especially Thick Slices, If Needed.
- STAINLESS STEEL BODY & TRAYS: All Parts Are BPA-Free, Making Them Safe For Your HOUSEHOLD and COMMERCIAL Use and Keeping Your Food Free From Harmful Toxins.
- DIGITAL TEMPERATURE & TIMER: Has a Temperature Range of 95ºF to 167ºF. Set Timer to Automatically Shut Off Your Dehydrator at the Designated Time, In 30-Minute Increments, For Up To 24 Hours at a Time.
Storage and Shelf Life
Proper storage means keeping sealed jars in a cool, dark place around 60-70°F. Avoid temperature fluctuations and direct sunlight, which can affect quality over time.
Sealed jars will keep for 12-18 months. I date every jar and try to use older ones first. Once opened, refrigeration is essential. An opened jar will keep for 2-3 months in the refrigerator.
Freezing is possible but not ideal—the texture changes significantly when thawed. If you’re worried about using up your jars, give them away as gifts instead.
Your Garden’s Greatest Transformation Awaits
February. Snow falling. You unscrewed a jar from last July. That seal breaks—vinegar, spices, summer in glass. One taste and you’re back in your garden, dirt under your fingernails, sun on your face.
This is why we preserve: to bottle time itself. To taste July sunshine in January’s darkness.
That mountain of zucchini on your counter? It’s not a problem. It’s dozens of future meals and jars your friends will beg the recipe for.
Ready to start canning? This Zucchini Relish Recipe forgives mistakes and rewards experimentation. Your first batch won’t be perfect—mine wasn’t—but it will be delicious.
Grab those zucchinis. Pull out your biggest pot. The magic isn’t just in the jars—it’s in opening one six months from now and remembering exactly why you started.
Your kitchen is calling. Let’s make something extraordinary.

*We may earn a commission for purchases made using our links. Please see our disclosure to learn more.