I still remember the summer I planted six zucchini plants in my backyard. What was I thinking? By mid-July, I was drowning in green zucchinis. My neighbors had politely declined my offers so many times that I stopped asking altogether. That’s when I discovered Zucchini Canning Recipes.
Learning to preserve my harvest transformed me from a desperate home cook begging people to take vegetables to someone with a well-stocked pantry full of tangy pickles and flavorful relishes that lasted well into winter. If you’re facing your own over-abundance of zucchinis, I’m here to share what I’ve learned through trial, error, and plenty of successes.
Why I Started Canning My Zucchini Harvest
The breaking point came when I found myself composting perfectly good zucchini because I simply couldn’t eat, gift, or bake them fast enough. It felt wasteful and heartbreaking after all the care I’d put into growing them. I’d tried freezing grated zucchini for bread, but my freezer space ran out quickly. Then my grandmother mentioned how she used to pickle vegetables every summer, and something clicked.
I started researching preservation methods and discovered that canning wasn’t just for tomatoes and jam. Zucchini could be transformed into crisp pickles, tangy relishes, and savory additions to winter meals. The first time I heard those lids pop and seal, I was hooked. Not only was I saving my harvest, but I was creating something my family actually wanted to eat months later.
The Best Zucchini Varieties for Canning
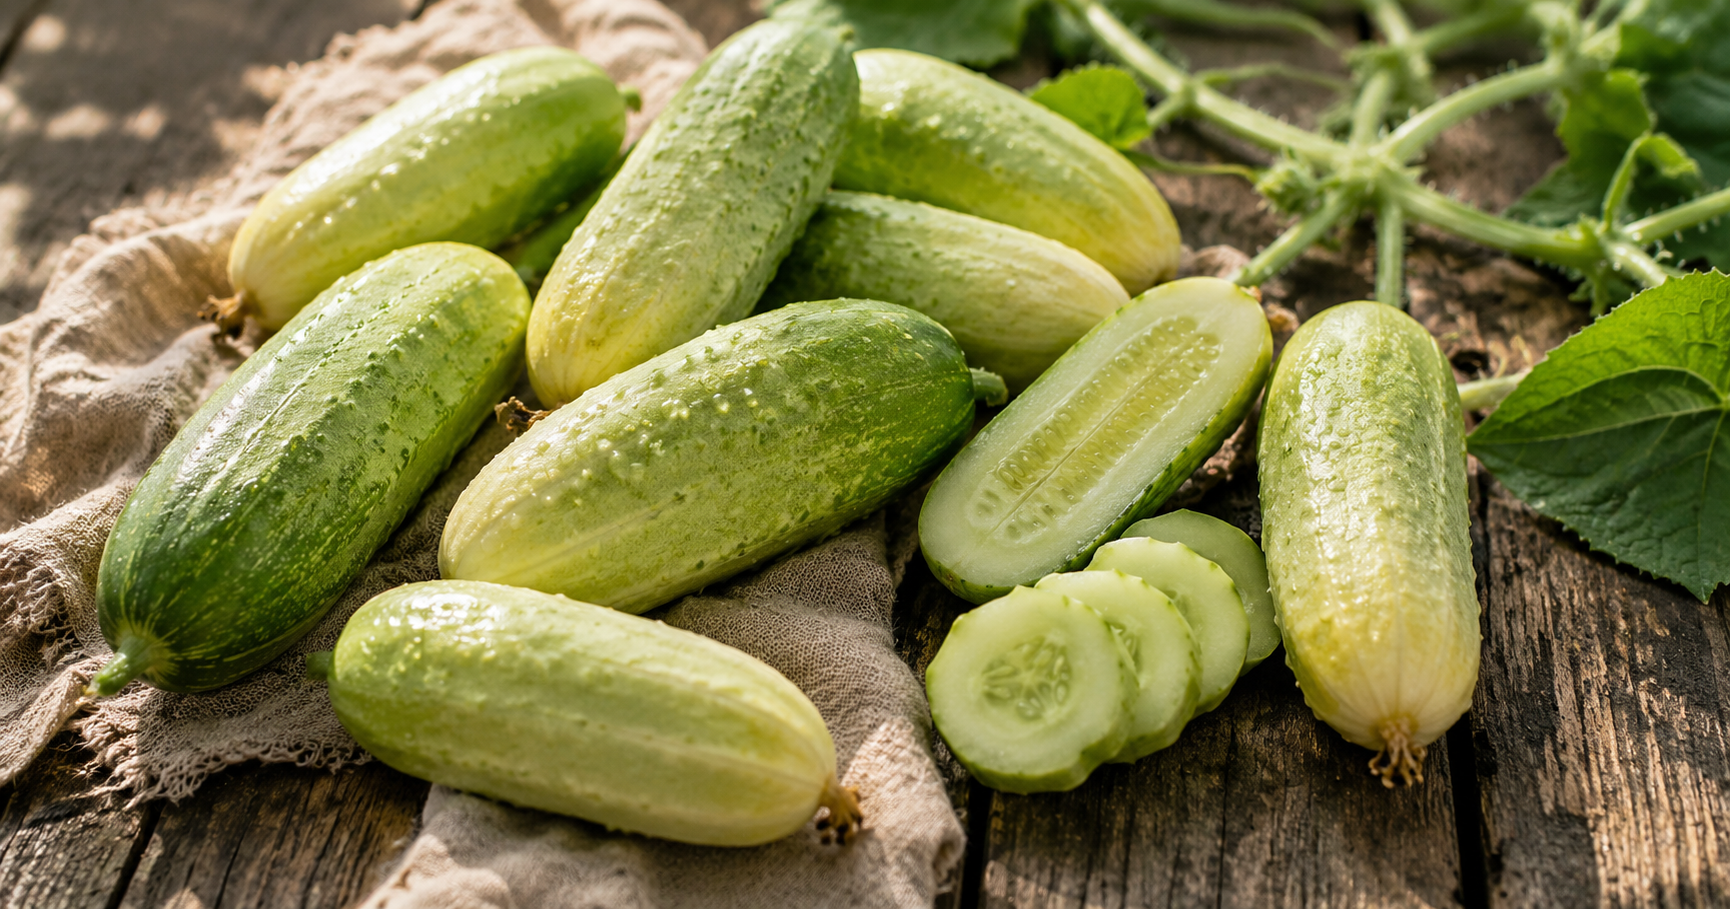
Through several seasons of experimenting, I’ve learned that not all zucchini are created equal when it comes to preservation. The smaller varieties like Black Beauty and Costata Romanesco hold their texture beautifully in brine. I’ve had disappointing results with the baseball bat-sized specimens that hide under leaves—they turn mushy and their seeds are too large.
Size matters tremendously in canning. I now harvest my zucchini when they’re six to eight inches long and about one and a half inches in diameter. At this size, the flesh is firm, the seeds are barely developed, and they fit perfectly into pint jars when cut into spears. If I miss a few and they grow larger, I save those for relish where texture is less critical.
Timing your harvest makes all the difference. I check my plants every single day during peak season. Zucchini can double in size overnight, and once they get too large, they’re better suited for composting than canning. Early morning harvesting, right after the dew dries, seems to give me the crispest results.
Essential Equipment and Safety Guidelines
When I first started, I thought I could improvise with regular pots and old jars from pasta sauce but I was wrong. Food safety in canning isn’t negotiable, and I quickly invested in proper equipment. A water bath canner is essential—it’s basically a large pot with a rack that keeps jars off the bottom. Mine has paid for itself countless times over.
If you’re serious about canning, an upgrade from a basic stockpot makes life so much easier. The Ball Electric Water Bath Canner takes the guesswork out of processing jars with precise temperature control and a built-in spigot for mess-free draining. It’s a worthwhile investment for anyone planning to preserve their harvest year after year.

Ball EasyCanner Electric Water Bath Canner, 21-Quart Capacity, Automated Heating, Multicooker & Steamer Functionality
- Safe and easy-to-use Press & Forget technology automates preheating and processing steps at the push of a button to eliminate wasted time watching the pot
- Heat sensors inside the electric water bath canner maintain optimal temperatures for consistent canning and cooking results
- Free up valuable space on your stovetop with a freestanding water bath canner designed for your countertops
- All-in-one canner does more with multicooker and steamer functionality that’s perfect for cooking pastas, soups, vegetables, and seafood
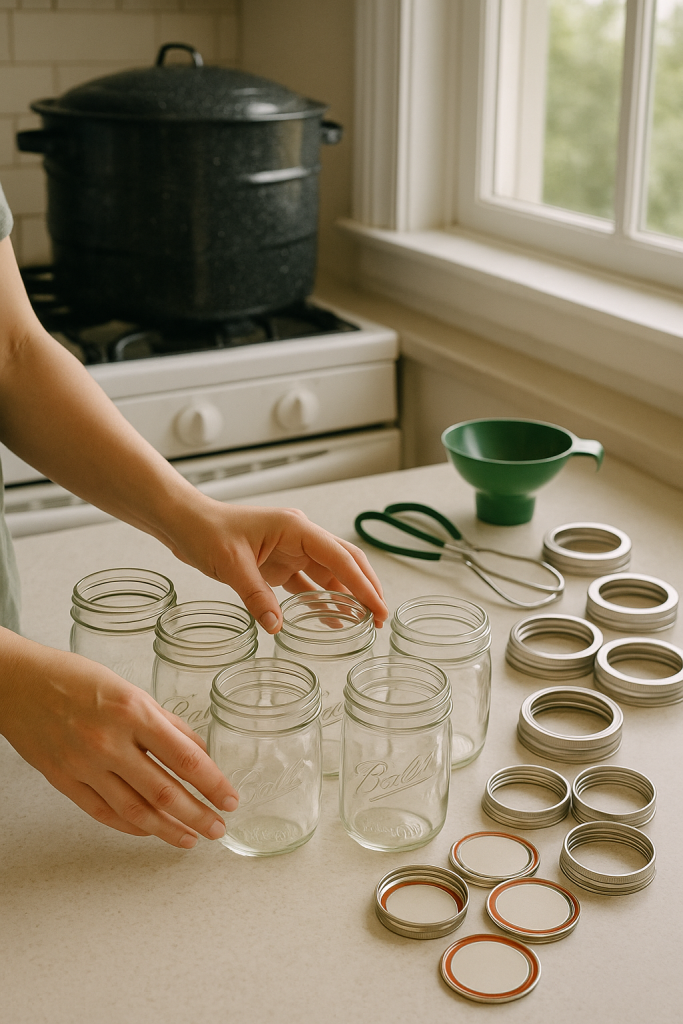
You’ll need actual canning jars, not recycled mayonnaise containers. Ball and Kerr mason jars are designed to withstand repeated heating and cooling. I use pint-sized jars for most of my zucchini projects because they’re perfect for a family meal. New lids are required each time—those flat discs with the rubber seal lose their sealing ability after one use, though the metal bands can be reused indefinitely.
Tools That Make Life Easier
A jar lifter is essential unless you enjoy fishing hot glass out of boiling water with kitchen tongs (I tried once—never again). A wide-mouth funnel prevents spills when ladling hot brine, and a bubble remover tool helps eliminate air pockets that can cause seal failures. I also keep a clean damp cloth nearby for wiping jar rims—even a tiny bit of food on the rim can prevent proper sealing.
Not all pots are created equal—especially when it comes to canning. The All-Clad Stainless Steel Stockpot is built to handle large batches with even heat distribution and exceptional durability. This professional-grade stockpot ensures your brine stays at the perfect boil without scorching, making each canning session smooth and efficient.

All-Clad 4512 Stainless Steel Tri-Ply Bonded Stockpot with Lid / Cookware, 12-Quart, Silver
- Features a wide base for sauteing before adding liquids, and tall sides with lid to reduce evaporation and retain a light consistency – highly versatile with any liquid-related cooking
- Classic tri-ply construction, made with a responsive aluminum core bonded together with 2 layers of durable, stainless steel all the way around for maximum durability and fast, even heat distribution
- Secured with riveted stainless-steel handles to ensure a safe grip and to add a bit of style with stainless-steel lid to match
- Compatible with all cooktops including induction, and oven/broiler-safe up to 600°F
Safety Protocols You Cannot Skip
Acidity is crucial for safe water bath canning. Zucchini is a low-acid vegetable, which means it cannot be safely canned plain. The vinegar in pickle and relish recipes provides the acidity needed to prevent botulism. Never reduce the amount of vinegar called for in a recipe, and always use vinegar with at least 5% acidity.
Processing times aren’t suggestions—they’re scientifically tested requirements. My altitude is about 500 feet, so I process pints for fifteen minutes. If you’re above 1,000 feet elevation, you’ll need to add processing time. Check the USDA guidelines for your specific altitude. I set a timer and don’t start counting until the water returns to a full rolling boil.
My Favorite Zucchini Canning Recipes
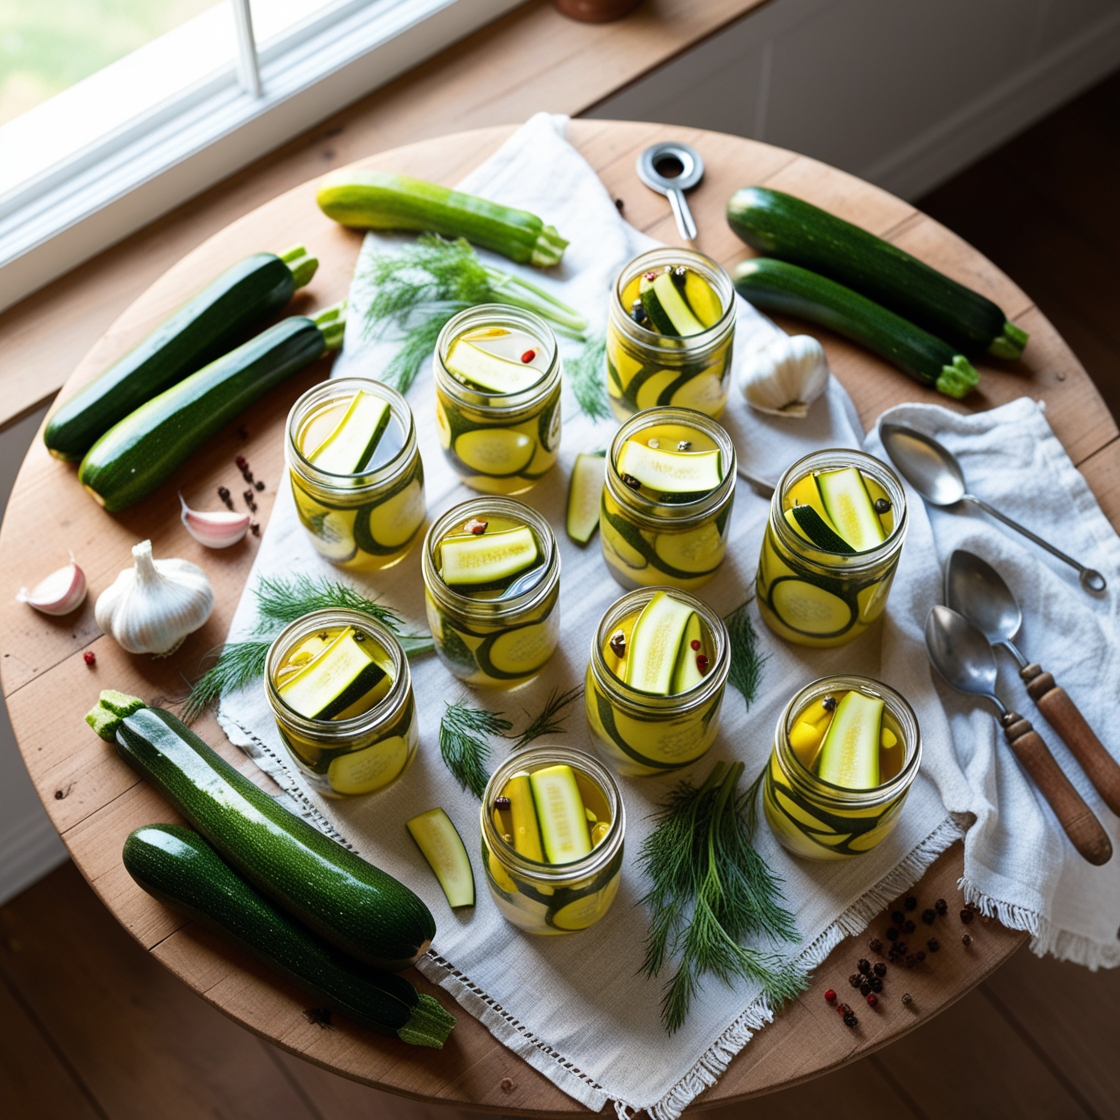
After years of testing different preservation methods, I keep coming back to two recipes that never disappoint. These aren’t the overly sweet, mushy versions you might remember from decades past. I’ve refined these to highlight fresh flavors while cutting way back on sugar and keeping textures crisp. Both recipes follow tested safe canning guidelines, so you can preserve with confidence.
What makes these recipes special is their versatility. The pickled spears work as a crunchy snack straight from the jar, while the relish elevates everything from sandwiches to scrambled eggs. I’ve given away dozens of jars as gifts, and people always ask for more. Let me walk you through both.
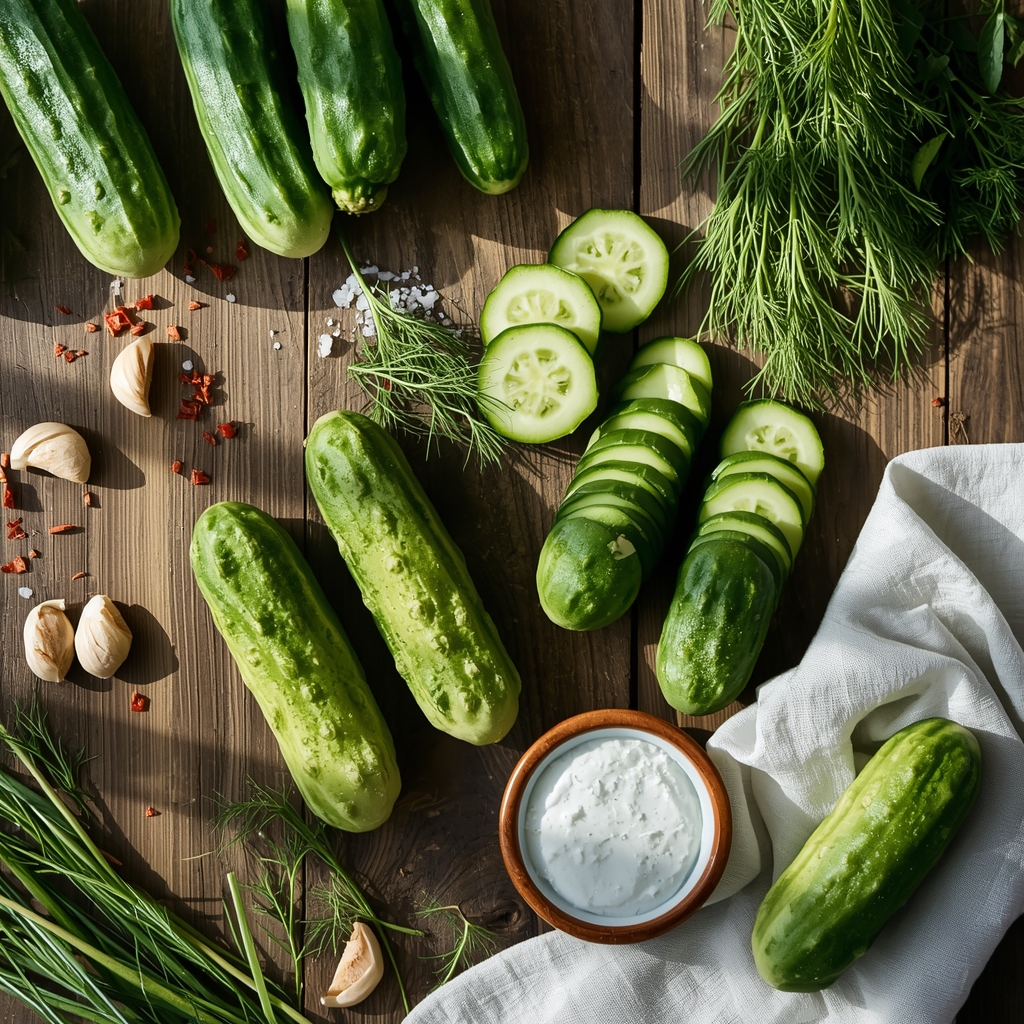
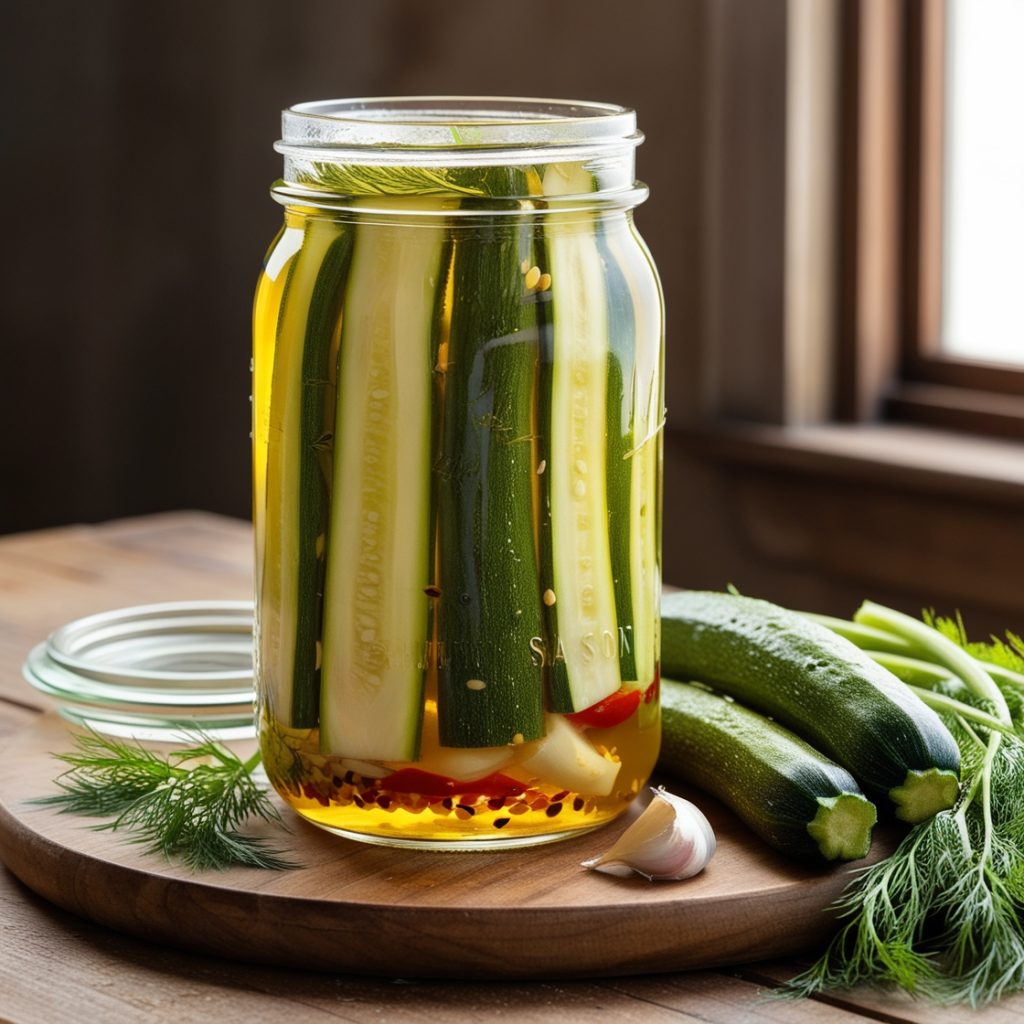
Pickled Zucchini Spears
This recipe creates tangy, crunchy spears with a hint of heat. They remind me of dill pickles but with a more delicate flavor. I’ve served these at summer barbecues where they disappeared faster than any cucumber pickle I’ve ever made.
Ingredients:
- 4 pounds small to medium zucchini, cut into spears
- 4 cups white vinegar (5% acidity)
- 4 cups water
- 1/2 cup canning salt
- 4 cloves garlic, peeled and halved
- 4 teaspoons dill seed
- 2 teaspoons red pepper flakes (optional)
- 4 teaspoons mustard seed
Instructions:
- Wash and sterilize 4 pint-sized canning jars and lids according to manufacturer instructions
- Cut zucchini into spears approximately 4 inches long and 1/2 inch thick
- In a large pot, combine vinegar, water, and salt. Bring to a boil
- Pack zucchini spears vertically into hot jars, leaving 1/2-inch headspace
- Add 1 garlic clove half, 1 teaspoon dill seed, 1/2 teaspoon red pepper flakes, and 1 teaspoon mustard seed to each jar
- Pour hot brine over zucchini, maintaining 1/2-inch headspace
- Remove air bubbles with a non-metallic spatula
- Wipe jar rims clean, place lids, and screw on bands fingertip-tight
- Process in a boiling water bath for 15 minutes (adjust for altitude as needed)
- Remove jars and let cool on a towel for 12-24 hours
- Check seals before storing in a cool, dark place
Yield: 4 pints
Health Benefits: Low in calories, high in fiber, probiotic-friendly fermentation, no added sugar
Low-Sugar Zucchini Relish
Traditional relish recipes call for over two cups of white sugar. This version uses honey instead and cuts the sweetness by about 75%. The result is a more sophisticated relish that lets the vegetables shine through. I’ve spooned this over cream cheese for an instant appetizer that impresses every time.
Ingredients:
- 10 cups zucchini, finely chopped (about 3 pounds)
- 4 cups onions, finely chopped
- 2 red bell peppers, finely chopped
- 1/4 cup canning salt
- 3 cups apple cider vinegar
- 1/2 cup honey or coconut sugar (instead of 2+ cups white sugar)
- 1 tablespoon celery seed
- 1 tablespoon mustard seed
- 1 tablespoon turmeric
- 1/2 teaspoon black pepper
Instructions:
- In a large bowl, combine chopped zucchini, onions, and bell peppers
- Sprinkle with canning salt and cover with cold water. Let stand 2 hours
- Drain and rinse vegetables thoroughly under cold water
- In a large pot, combine vinegar, honey, and all spices. Bring to a boil
- Add drained vegetables and return to a boil
- Reduce heat and simmer for 15 minutes, stirring occasionally
- Meanwhile, sterilize 6 pint jars and lids
- Ladle hot relish into hot jars, leaving 1/2-inch headspace
- Remove air bubbles and wipe rims clean
- Apply lids and bands fingertip-tight
- Process in a boiling water bath for 15 minutes (adjust for altitude)
- Remove and cool completely before storing
Yield: 6 pints
Health Benefits: 75% less sugar than traditional recipes, rich in vitamins A and C, antioxidant-rich vegetables, supports digestive health
Common Mistakes I’ve Made
My first year of canning involved a lot of errors. I’m sharing my failures because they taught me more than any success ever did. If you’re just starting with zucchini canning recipes, learn from my mistakes and save yourself some frustration.
The biggest mistake I made was processing jars for only ten minutes instead of fifteen. I’d misread a recipe and didn’t double-check the USDA guidelines. Three jars from that batch failed to seal properly, and I had to refrigerate them and use them within a week. Now I keep the Ball Blue Book next to my canning station and verify every processing time before I start.
I also learned about overpacking jars the hard way. I thought jamming in extra spears meant getting more value from each jar. Instead, the brine couldn’t circulate properly, leading to uneven pickling and poor texture. Now I pack jars firmly but not aggressively, making sure liquid can flow around all the vegetables.
The Overripe Zucchini Disaster
One August, I was behind on harvesting and decided those ten-inch zucchini would be “fine” for pickling. They weren’t fine. The seeds were hard, the flesh turned to mush during processing, and the final product was embarrassingly bad. I ended up throwing those jars straight into the compost bin. Now I’m ruthless about using only properly sized, firm zucchini. Anything too large goes into compost or soup.

Air Bubbles Are Real
I used to think the bubble-removing step was optional. It’s not. Air bubbles trapped in your jars can prevent proper sealing and create pockets where spoilage can occur. After losing several jars to failed seals, I invested in a proper bubble remover tool and now slide it around the inside of every jar multiple times. Those extra thirty seconds of effort prevent waste and ensure safety.
Creative Ways to Use Your Canned Zucchini
Once you’ve mastered these zucchini canning recipes, you’ll want to use your preserved bounty in creative ways. I keep pickled spears in my refrigerator at all times because they’ve become my go-to snack. They’re crunchy, satisfying, and guilt-free when I’m craving something salty at three in the afternoon.
Once you’ve stocked your pantry, the fun really begins—finding new ways to enjoy your creations. A Vitamix 5200 Blender makes it effortless to whip zucchini relish into creamy dips, blend pickled spears into salad dressings, or create smooth, flavorful sauces. It’s the ultimate tool for turning preserved produce into gourmet meals year-round.

Vitamix 5200 Blender, Professional-Grade Blender for Smoothies, Soups, Ice Cream and More, Stainless-Steel Blades, Self-Cleaning Kitchen Appliance, 64 Oz Container, Black
- Included: Vitamix 5200 blender motor base, 64-ounce classic container, and tamper; this kitchen blender container allows for small- to large-capacity blends
- 2 HP Motor: Equipped with a high-performance motor, this countertop blender lets you say goodbye to chunky smoothies and hello to effortless blends
- Stainless-Steel Blades: Laser-cut, stainless-steel blades can power through fibrous produce and frozen fruit, crush ice and nuts, and much more, offering consistent blends for years
- 64-Ounce Classic Container: The BPA-free blending container is designed to create the iconic Vitamix Vortex; it’s a professional-grade blender for smoothies, juices, purées, sauces, soups, and more, making hot and cold dishes in the container
The relish has become legendary in my household. I mix it with mayonnaise for an incredible tartar sauce that makes even frozen fish sticks taste gourmet. It’s fantastic on grain bowls, obviously, but I’ve also stirred it into quinoa salad, used it as a topping for roasted sweet potatoes, and mixed it with tahini for a quick vegetable dip.
For entertaining, I drain pickled spears and serve them alongside hummus and olives on a crudité platter for an easy appetizer. The tangy crunch pairs beautifully with creamy dips and spreads. I’ve also chopped them finely and added them to pasta salad, grain bowls, and avocado toast for extra flavor and texture.
Gifts From the Pantry
Home-canned items make thoughtful gifts that people genuinely appreciate. I design custom labels on my computer, print them on adhesive paper, and attach them to jars with decorative fabric toppers. A jar of pickled spears or relish, paired with some crackers and cheese, becomes a complete gift basket for neighbors, teachers, or hostess gifts.
Storage and Shelf Life Tips
Proper storage determines whether your canned goods last six months or several years. I learned this after storing jars in my garage, only to find the lids had rusted and several seals had failed. Now I keep all canned goods in a cool, dark basement closet where temperatures stay between 50-70 degrees year-round.
Light is the enemy of canned foods. Even though the glass is clear, direct sunlight can fade colors and degrade nutrients. I store jars in boxes or on shelves away from windows. My basement pantry is perfect, but a kitchen cupboard away from the stove works well too.
How Long Does It Last?
Properly processed and stored zucchini canning recipes will maintain peak quality for 12-18 months. After that, they’re still safe to eat if the seals remain intact, but flavors may become less vibrant and textures can soften. I date every jar with the month and year and try to use older jars first. Realistically, mine rarely last more than six months because we eat them so quickly.
Before eating any canned food, I check for signs of spoilage. A bulging lid, broken seal, unusual odor, or mold growth means the jar should be discarded immediately without tasting. When I open a jar, I listen for the distinctive pop of the seal breaking. If there’s no pop, the jar may not have been properly sealed. I also inspect the contents visually—they should look and smell like they did on canning day.
Turning Summer Abundance Into Year-Round Flavor
Learning to preserve zucchini changed how I think about seasonal abundance. What once felt overwhelming now feels like an opportunity. Those hot August days spent sterilizing jars and filling my kitchen with vinegar steam pay dividends every time I open a jar in February and taste summer again.
If you’re standing in your kitchen surrounded by more zucchini than you know what to do with, I encourage you to try canning. Start with just one batch of pickled spears. Follow the instructions carefully, don’t skip any safety steps, and give yourself grace if everything isn’t perfect the first time. That satisfying ping of jar lids sealing is genuinely addictive.
The USDA Complete Guide to Home Canning and the National Center for Home Food Preservation website are invaluable resources for safe canning practices. When in doubt, consult these sources or your local extension office. Food safety isn’t something to improvise, but with proper techniques, home canning is completely safe and incredibly rewarding.
Now get out there and turn those zucchinis into something delicious. You’ll be amazed how satisfying it feels to reach into your pantry on a cold winter day and pull out a jar of your own homegrown variety.
*We may earn a commission for purchases made using our links. Please see our disclosure to learn more.