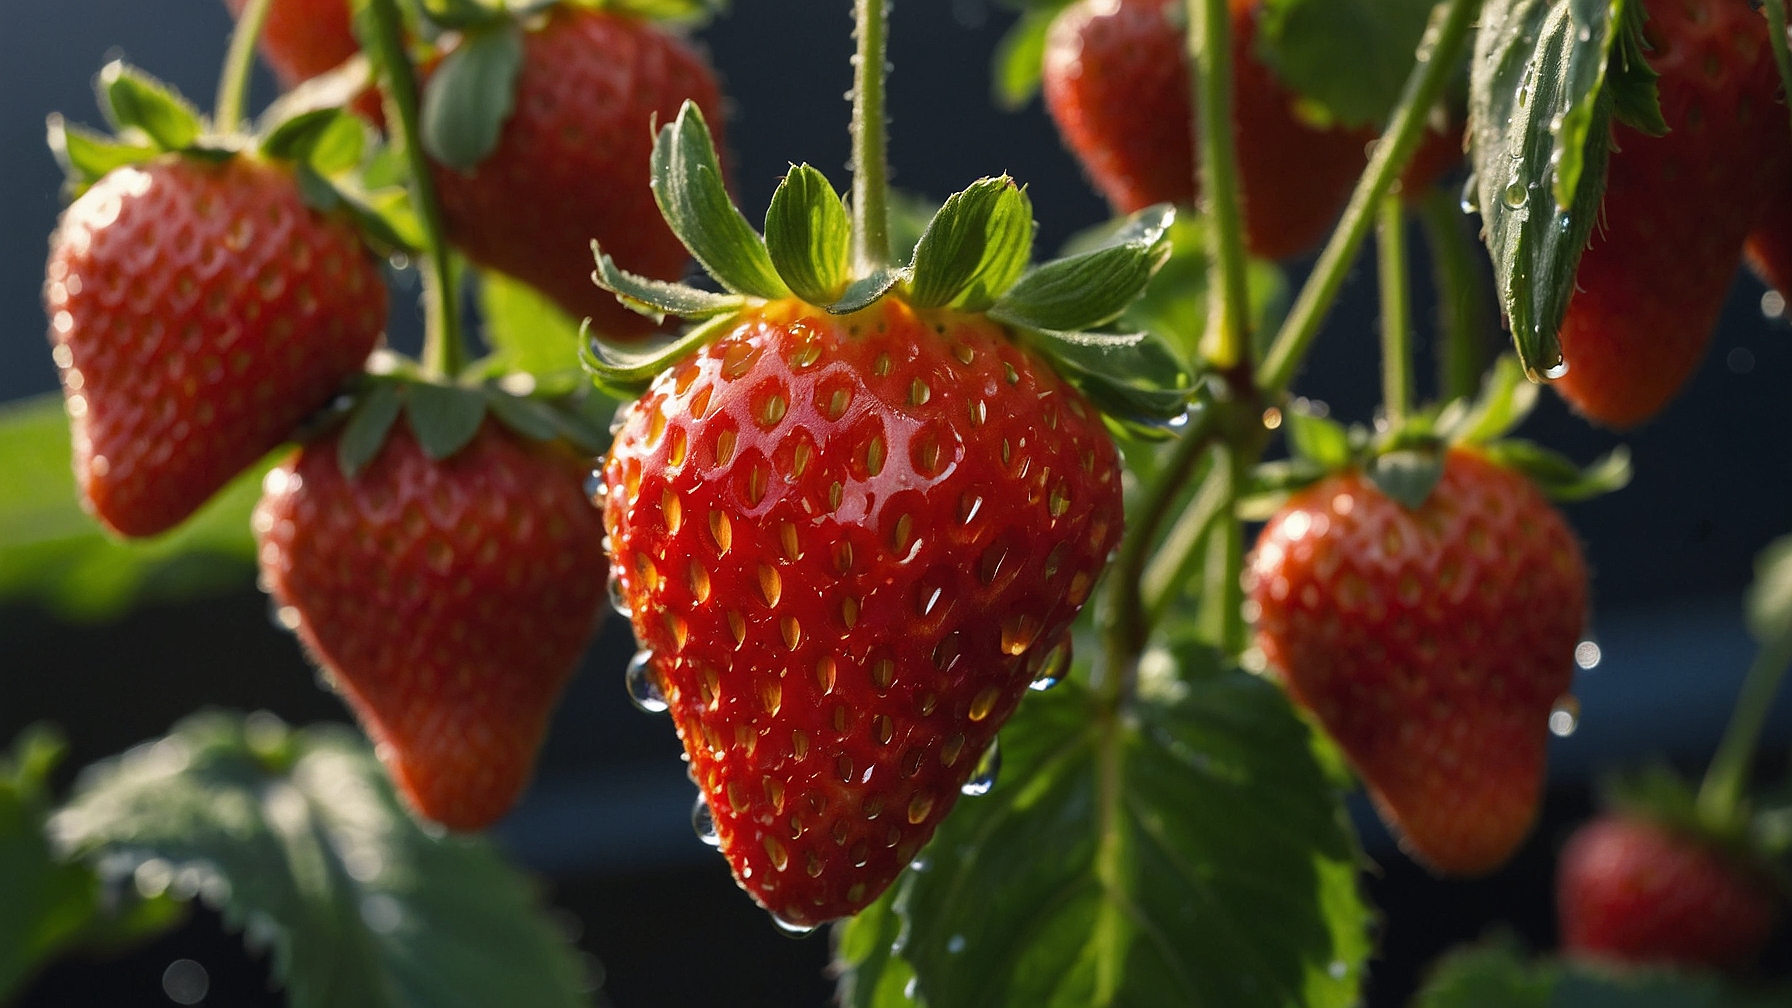
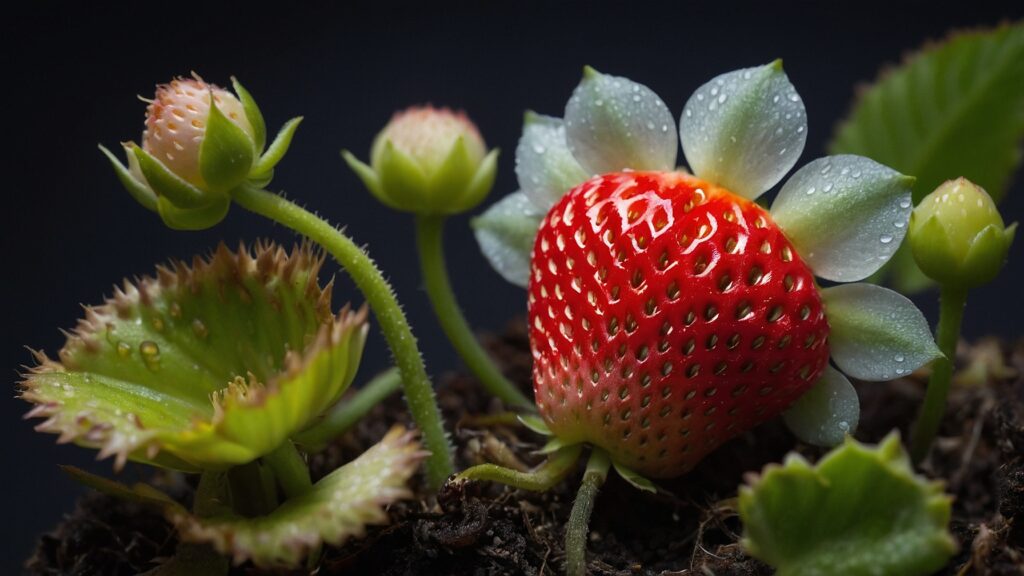
My hands trembled as I lifted my first perfectly ripe hydroponic strawberry to my lips. The morning sun streamed through my grow room window, highlighting the berry’s brilliant red color. The sweet aroma brought back memories of summer gardens, yet here I was in the middle of January, about to taste something I’d grown entirely without soil. The moment felt surreal – just six months earlier, I couldn’t keep a simple houseplant alive.
That first bite changed everything. The berry was warm from the morning sun, its flavor intense and complex – nothing like the bland supermarket strawberries I’d gotten used to. Sweet, juicy, and bursting with sun-ripened perfection, this single taste marked the beginning of my transformation from plant killer to successful hydroponic grower.
Your own journey might start exactly where mine did – with a mix of curiosity and doubt. Let me share how I went from killing every plant I touched to harvesting fresh strawberries year-round, through three game-changing recipes that marked my transformation into a confident hydroponic gardener.
My Introduction to Hydroponic Growing
“You want to grow hydroponic strawberries in water?” My husband’s skeptical voice still rings in my ears. He stood in our spare room, eyebrows raised, as I unpacked boxes of growing equipment. I understood his doubts – our previous attempts at traditional gardening had ended with withered plants and disappointment.
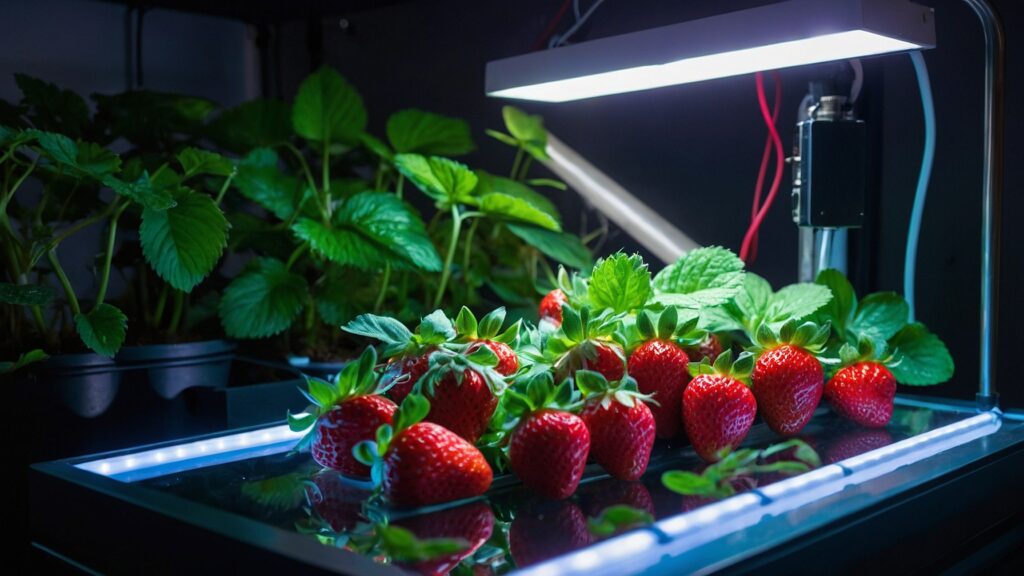
The spark ignited when my neighbor Tracy invited me over one snowy December morning. Walking into her grow room felt like stepping into spring. Rows of lush strawberry plants stretched toward LED lights, their fruits hanging like tiny red jewels. The sight stopped me in my tracks. If Sarah, who worked full-time and had three kids, could manage this, why couldn’t I?
That afternoon changed my perspective on gardening. Sarah showed me her setup, explaining how water, nutrients, and light worked together to create perfect growing conditions. The precision appealed to my analytical nature – this wasn’t just gardening, it was applied science with delicious results.
Getting Started: My First Setup
My journey began modestly. I converted our spare room into a grow space, starting with:
A basic NFT (Nutrient Film Technique) system
Six plant sites
LED grow lights
A small circulation fan
Basic pH and EC meters
Looking back, I made plenty of early mistakes. My first attempt at mixing nutrients resulted in yellow leaves within days. The second batch grew beautifully but produced no fruit – I hadn’t considered pollination. Each setback taught valuable lessons that led to my first breakthrough recipe.
While my initial setup was basic, investing in quality lighting makes a significant difference in plant health and fruit production. Professional-grade LED grow lights provide the precise spectrum and coverage needed for optimal growth of hydroponic strawberries, while their energy efficiency helps manage long-term costs.
- Cutting-Edge LED Chips for Unrivaled Performance:Introducing the Samsung LM301H EVO LEDs. Boasting an impressive efficiency rating of 3.14 µmol/J PPE per diode , these LEDs outshine even the renowned LM301B, LM301H, and Bridgelux 3030 chips in terms of sheer effectiveness, no fan, completely silent. EVO LEDs redefine plant growth enhancement. With superior light quality and an increased light output per LED, they harness a more potent blue spectrum.
- 5-Year Warranty: Our LED Plant Lights are often copied but will never have our quality or commitment, we provide 5 years of after-service at a local maintenance center(US/CA/UK/EU/AU). Make sure you purchase authentic Spider Farmer grow lights, really can give you high-quality grow lights – at a price that is affordable. For any questions, feel free to e-mail us, and we will help you resolve them.
- Ideal For All Growth Stages: Excellent full spectrum- white, blue, red and IR (3000K, 5000K, 660nm and IR 760nm, IR is dimmer than other red diodes.You can wear glasses to see it ). 3000K providing more reddish light and the 5000K providing more blueish. The 660nm red and IR light is especially useful during bloom, where it speeds up flowering time and boost yields. Uniformly across the surface and deep into the roots and bottom of canopy for consistent, highest quality flowers.
- New Diode Layout & Dimming Design: 2025 New Version SF4000 450W growing lights, the diodes arrangement gathered at the edge makes the PPFD more uniform, absorb light better, produce higher yields. The dimming knob be adjusted the light intensity at liberty. and compatible with GGS controllers.Dimming and scheduled on/off cycling based on plant growth stage. Multi-light Connection with unified dimming especially beneficial for large area of indoor growing and commercial planting.
- Well Made & Solid Construction: No Fan Noise Free. High Efficient, reliable Spider Farmer Brand Driver have great dissipate heat. Aluminum heat sink is thick and sturdy, protective covers for cables; User-Friendly Packaging. Quality components mean the light lasts longer, SF Light takes good cares of you with more considerate design, you can easily save money without purchasing lights frequently.
Recipe #1: The Confidence Builder – Basic Hydroponic Nutrient Solution
My first real breakthrough came three months into my journey, after watching two sets of plants struggle. I was ready to give up when I met Tom at my local garden center. Unlike other experts I’d consulted, Tom had a way of explaining hydroponics that made complex concepts click.
“Strawberry plants are like Olympic athletes,” he told me, arranging nutrient bottles on the counter. “They need the right balance of nutrition to perform their best.” That simple comparison changed my whole approach to feeding my plants.
The Story Behind the Recipe
My previous attempts at nutrient mixing had been guesswork, leading to weak plants that produced no fruit. Tom noticed my frustrated expression as I studied endless rows of nutrient bottles and asked about my setup. After hearing about my struggles, he shared this simple but effective formula that transformed my garden.
“Start with the basics,” he advised, sketching out measurements on a notepad. “Master this recipe first, then you can experiment.” He was right – this fundamental mix became the foundation of my success.
Ingredients
- 2 parts base hydroponic nutrient (A)
- 2 parts base hydroponic nutrient (B)
- 1 part calcium-magnesium supplement
- Clean, filtered water
- pH adjustment solutions
- Beneficial bacteria supplement
Step-by-Step Preparation
- Fill reservoir with filtered water at 68°F
- Add base nutrient A, stirring gently for 2 minutes
- Add base nutrient B, stirring another 2 minutes
- Incorporate calcium-magnesium supplement
- Test EC (aim for 1.0-1.2)
- Adjust pH to 5.8-6.2
- Add beneficial bacteria
- Monitor daily, recording changes
As I learned the importance of precise nutrient management, upgrading to professional monitoring equipment became a game-changer. An automated pH and EC controller takes the guesswork out of nutrient management, providing continuous monitoring and adjustment for optimal growing conditions.
- Comprehensive Reservoir Management System: Provides 24/7 control of your reservoir's pH, conductivity, and temperature, accessible from your phone at any time. With built-in Wi-Fi (optional disable feature), it offers the flexibility to monitor and adjust key parameters remotely. Pairing with Bluelab PeriPod dosers, it automates nutrient and pH dosing in reservoirs, ensuring optimal conditions for plant growth. Use Edenic.io for detailed control options via your mobile device.
- Precision Monitoring with Replaceable Probes: Equipped with replaceable probes for pH (BNC connection), temperature, and conductivity measurements, this system guarantees accurate and consistent monitoring. The ability to replace probes extends the life and efficiency of the system, ensuring you always get reliable data for making crucial adjustments to your reservoir.
- Enhanced Safety and Continuous Operation: With safety lockouts to prevent excessive dosing and an auto-resume feature after power loss, this system is designed for both safety and uninterrupted operation. These features protect your plants from imbalances and ensure continuous monitoring and dosing, maintaining the perfect environment for your reservoir.
- Advanced Dosing Capabilities for Multi-Part Nutrients: The system's compatibility with multiple Bluelab PeriPods enables multi-part nutrient dosing, catering to complex feeding requirements. It controls pH in both the alkaline and acidic directions with precision, while its smart dosing routine ensures effective mixing before the next dose. This level of control is essential for sophisticated nutrient management.
- User-Friendly Design and Alarms: The system features a 2-meter (6-foot) cable for optimal positioning and easy viewing. Visual high and low alarms alert you when parameters are out of the desired range, keeping you informed and in control. This thoughtful design and alert system make it easy to manage your reservoir effectively, ensuring the best possible conditions for your plants' growth and health.
The Learning Experience
The first week using this recipe taught me the importance of patience and observation. I noted every change in my plants:
- Day 1-2: Leaves perked up noticeably
- Day 3-4: New growth appeared, deeper green
- Day 5-7: Root systems turned bright white
- Week 2: First flower buds emerged
Each morning, I’d rush to check my plants before work, taking photos to document their progress. My husband started joining these morning inspections, his skepticism turning to curiosity as our plants flourished.
The Growing Environment: Creating Perfect Conditions
Success with the first recipe led me to understand that nutrition was just one piece of the puzzle. Creating the right environment became my next challenge. I learned to manage:
Temperature Control
- Room temperature: 68-75°F during day
- Night temperature: 60-65°F
- Root zone: Steady 68°F
- Humidity: 60-65%
Lighting Schedule
- 14 hours of light daily
- LED lights positioned 18″ above plants
- Light intensity adjusted for growth stages
- Morning and evening transition periods
Air Movement
- Oscillating fan for strong stems
- Vertical air flow for humidity control
- Regular leaf movement for pollination
- Prevention of stagnant air pockets
Recipe #2: The Game Changer – Flowering Boost Formula
As my confidence grew with basic nutrients, I noticed my plants needed something different when flowering began. This revelation came after connecting with Maria, a commercial grower of hydroponic strawberries who became my mentor after meeting at an online gardening forum.
The Story Behind the Recipe
“Your plants look healthy,” Maria said, studying the photos I shared, “but they could be producing twice the flowers.” She explained how strawberries need different nutrition during their flowering phase – something I’d never considered. Over several video calls, she helped me develop this formula that doubled my flower production.
“Think of it like training for a marathon,” she explained. “Your plants need different fuel when they’re preparing to produce fruit.” This analogy stuck with me, changing how I viewed the flowering stage.
Ingredients
- 1 part flowering base nutrient (A)
- 1 part flowering base nutrient (B)
- 2 parts potassium boost
- 1 part bloom enhancer
- Filtered water
- pH stabilizer
- Silica supplement
- Humic acid additive
Step-by-Step Preparation
- Start with fresh reservoir water at 68°F
- Add silica first, stir for 2 minutes
- Mix in base nutrients one at a time
- Incorporate potassium boost gradually
- Add bloom enhancer
- Test EC (aim for 1.2-1.4)
- Adjust pH to 6.0
- Change solution weekly
- Monitor daily for changes
The Transformation
The results amazed me. Within ten days of switching to this recipe:
- Flower clusters doubled in size
- Stems grew stronger
- Leaf color deepened
- Plant vigor increased noticeably
My daily notes captured the excitement:
Day 1: “Changed to new nutrient mix – hoping Maria’s recipe works!”
On Day 5: “New flower buds appearing everywhere!”
Day 10: “Can’t believe the difference – plants are covered in blooms!”
Mastering Environmental Controls
With abundant flowers came new challenges. I learned that successful pollination required precise environmental control:
Temperature Management
Morning: 68-72°F
- Gradual warm-up period
- Lights on sequence
- Morning misting cycle
- Pollination time
Midday: 73-75°F
- Peak photosynthesis period
- Increased air movement
- Humidity control
- Regular monitoring
Evening: 65-68°F
- Gradual cool-down
- Reduced air movement
- Final health check
- System monitoring
Recipe #3: The Sweet Success – Berry Ripening Solution
Meeting Dr. Chen at a local gardening workshop changed everything about my fruit production. A retired plant researcher, he explained the science behind sweetness development in hydroponic strawberries, revealing secrets I’d never found online.
The Story Behind the Recipe
“Sweetness isn’t just about sugar content,” Dr. Chen shared, drawing diagrams in my notebook. “It’s about the balance of minerals that help the plant create complex flavors.” His eyes lit up as he explained how certain nutrients enhanced both sugar production and flavor compounds.
Our three-hour conversation turned into weekly mentoring sessions. Together, we developed this recipe that transformed my good hydroponic strawberries into remarkable ones.
Ingredients
- 1 part fruiting base nutrient (A)
- 1 part fruiting base nutrient (B)
- 2 parts calcium boost
- 1 part sweetness enhancer
- Filtered water
- Beneficial bacteria supplement
- Trace mineral blend
- Natural carbohydrate supplement
Step-by-Step Preparation
- Begin with fresh water at 68°F
- Add base nutrients gradually, stirring between additions
- Mix in calcium boost over 5 minutes
- Add sweetness enhancer slowly
- Include beneficial bacteria
- Incorporate trace minerals
- Add carbohydrate supplement last
- Test EC (maintain at 1.2)
- Monitor pH daily
- Change every 5-7 days
The Sweet Results
The impact of this recipe surpassed my expectations:
- Brix levels increased by 30%
- Berries developed complex flavor notes
- Fruit size improved
- Shelf life extended
- Aroma intensified
Seasonal Adjustments and Maintenance
Success through different seasons required adapting my approach:
Summer Management
- Additional cooling measures
- Adjusted nutrient strength
- Increased calcium supplementation
- Enhanced pest monitoring
- Modified light cycles
Winter Protocols
- Supplemental heating strategies
- Humidity management
- Light intensity adjustments
- Root zone temperature control
- Modified feeding schedules
Learning from Challenges
My path included numerous learning opportunities:
Early Mistakes
- Overfeeding led to nutrient burn
- Poor air circulation caused mold issues
- Inadequate pollination resulted in misshapen fruit
- Incorrect pH monitoring damaged roots
- Temperature fluctuations stressed plants
Solutions Discovered
- Created detailed feeding charts
- Installed automated monitoring systems
- Developed pollination schedules
- Implemented preventive maintenance
- Established backup systems
Beyond the Grow Room
This journey transformed more than just my gardening skills:
Personal Growth
- Developed problem-solving abilities
- Built confidence in technical skills
- Learned patience and observation
- Discovered teaching abilities
- Found joy in continuous learning
Community Impact
- Started a local growers’ group
- Mentored new hydroponic enthusiasts
- Shared harvests with neighbors
- Taught children about growing food
- Created online growing resources
Daily Growing Routine
Success comes from consistent care:
Morning Schedule
6:00 AM: System check
- Monitor water levels
- Check temperatures
- Inspect plant health
- Record observations
9:00 AM: Plant care
- Hand pollination
- Pruning as needed
- Harvest ripe berries
- Clean fallen leaves
Evening Schedule
5:00 PM: Environment check
- Adjust temperatures
- Monitor humidity
- Check nutrient levels
- Record daily data
8:00 PM: Final inspection
- System operation verification
- Next day preparation
- Update growing journal
- Plan adjustments
Maintaining consistent root zone temperature proved crucial for year-round success. A reliable hydroponic water chiller helps keep nutrient solution at the perfect temperature, preventing root stress and ensuring optimal nutrient uptake even during warm seasons.
- Ideal Temperature: Chiller boasts a substantial refrigeration capacity, making it an optimal choice for maintaining the nutrient solution in your reservoir at the ideal temperature
- Fresh and Salt Water: Made with an anti-corrosive pure titanium evaporator, it is designed to handle both fresh and salt water, and the robust materials used in its construction amplify its durability
- Easy to Read: Each unit features a user-friendly display, providing you with a convenient interface to control the temperature range according to your specific requirements
- Chiller Specification: Designed for reservoirs ranging from 40 to 92 gallons and comes with a flow rate of 396–925 gallons per hour; recommended for use with pump models AAPW400, AAPW550, or AAPW800
- Water Chiller Cooling System Dimensions: Measuring 20.7 x 17.9 x 20.5 inches (L x W x H), the chiller's compact yet sturdy build allows for easy integration into various hydroponic systems
Creating Your Success
For those starting their hydroponic journey:
Essential Steps
- Research growing systems thoroughly
- Start with quality equipment
- Connect with experienced growers
- Keep detailed records
- Celebrate small victories
Growth Mindset
- Welcome challenges as learning opportunities
- Share experiences with others
- Stay curious and experimental
- Practice patience
- Trust the process
A Sweet Future
Today, my spare room produces more than just strawberries – it generates joy, learning, and community connections. Each morning brings new discoveries and opportunities to grow, both as a gardener and person.
The sweetest reward isn’t just the berries, though they’re incredible. It’s the knowledge that anyone can succeed at hydroponic growing with dedication and the right guidance. My hands no longer tremble when mixing nutrients or checking plants. They move with confidence born from experience and understanding.
Your hydroponic journey might start with uncertainty, but it can lead to harvesting the most flavorful strawberries you’ve ever tasted. Remember, every master grower started as a beginner. Your first perfectly ripe strawberry awaits.

Take that first step into hydroponic growing. Soon, you might find yourself sharing your own success story while enjoying fresh, sweet strawberries in any season.

*We may earn a commission for purchases made using our links. Please see our disclosure to learn more.

